Chris Cordes / February 15th, 2018
I’d venture to say that most people know that running the correct air pressure can extend the life of their tires, make their journey more comfortable, improve fuel economy, and keep them safe on the road, yet few of them regularly check their tires. I’ll admit it, I was one of those set it and forget it people. I would air back up after a trail ride and simply leave the pressure until the next time I aired down, but everything from the weather to variations in air compressor temperatures altered the PSI in each tire. This became abundantly clear when I began checking them at fuel stops, and I quickly realized I needed an easier way to monitor my tires at all times. Preferably a system that could alert me as soon as things went awry, thus preventing further damage to the wheel and tire. There were plenty of pricey options out there, but we decided to give a solar powered Tire Pressure Monitoring System (TPMS) from Amazon a shot.

It’s made by a company called Yokaro, and costs $79 USD, significantly cheaper than some of the other TPMS systems on the market. Of course, that’s not really surprising. Yokaro appears to utilize the same basic components as many other tire pressure systems, minus the name brand, and they’re likely all made in the same factory. Don’t let that worry you though, affordable doesn’t always mean cheap.
I received the box two days after placing my order, a big advantage of the Yokaro’s availability on Amazon Prime. Upon opening it, I was happy to find everything nested neatly in precisely cut foam inserts. All of the components were organized, and the instructions were right on top, ready to go. The kit includes a solar monitor with an LCD screen, four sensors, a small sensor wrench, a USB charging cable for when solar power doesn’t cut it, some 3M stick pads, and four nuts.
The installation process was simple, but the instructions are vague, which necessitated a re-installation after I mucked it up the first time. Here’s what to do.
Step 1: TURN ON THE MONITOR. – The monitor must be on before you install the sensors. If you turn it on after the sensors are installed, they won’t detect the pressure change from ambient pressure to your tire’s inflated pressure, and the system will not function properly. Ask me how I know.
Step 2: Remove your valve stem covers
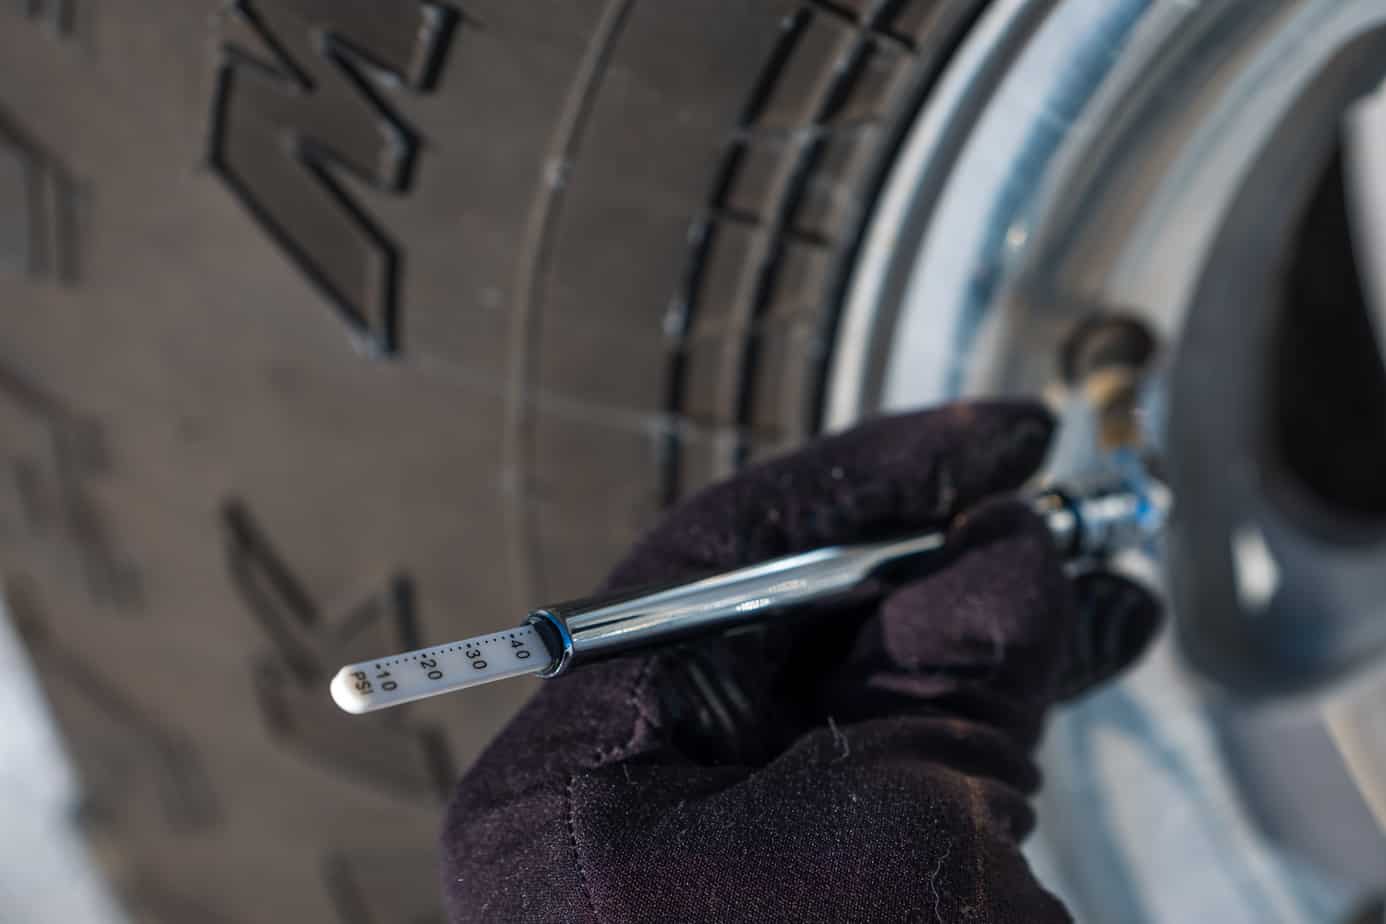
Step 3: Notate air pressure in each tire
Step 4: Install retaining nuts on valve stems
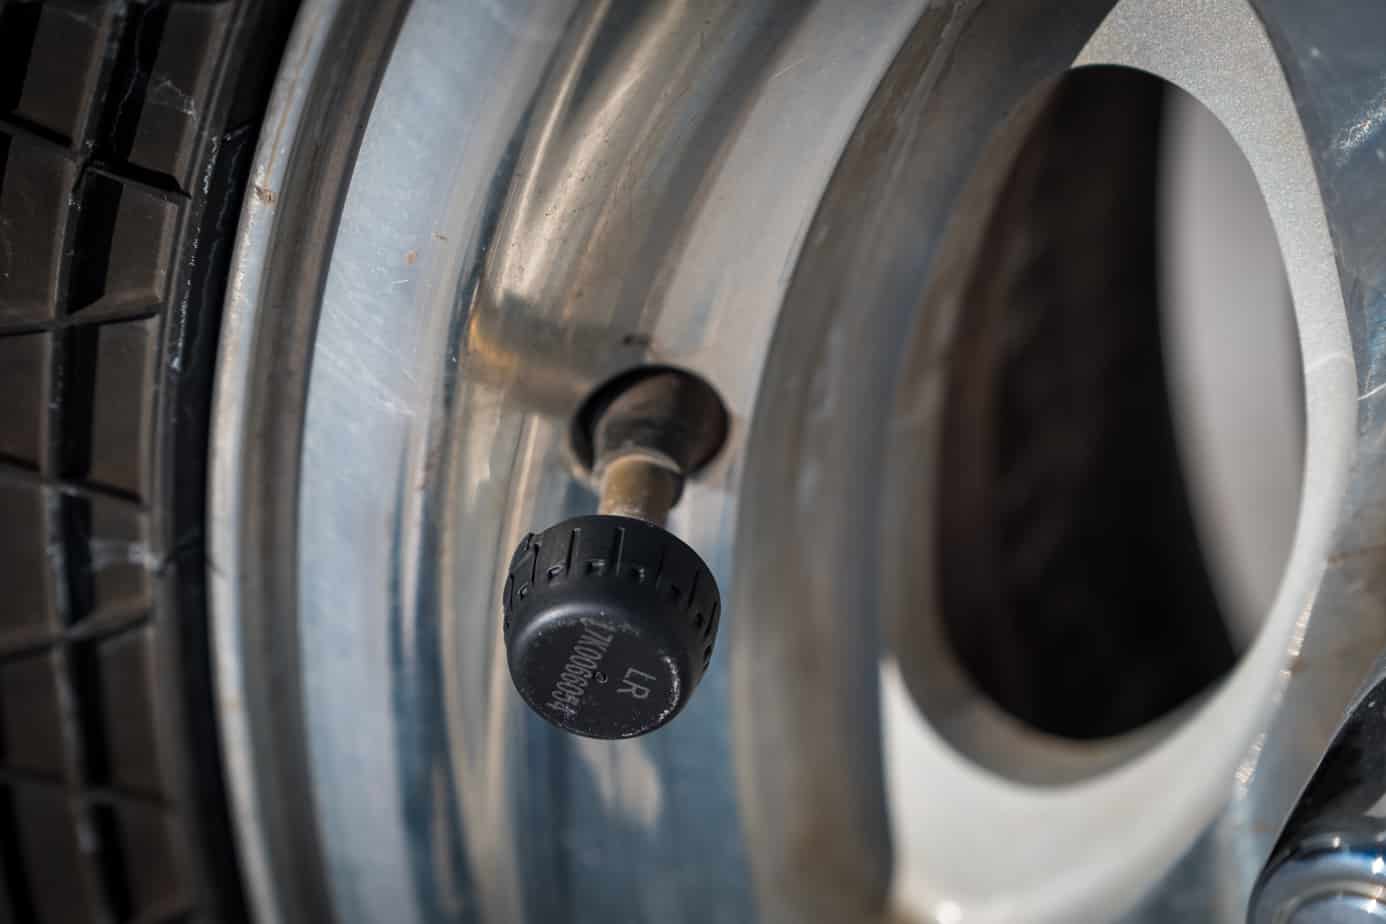
Step 5: Screw sensors into place
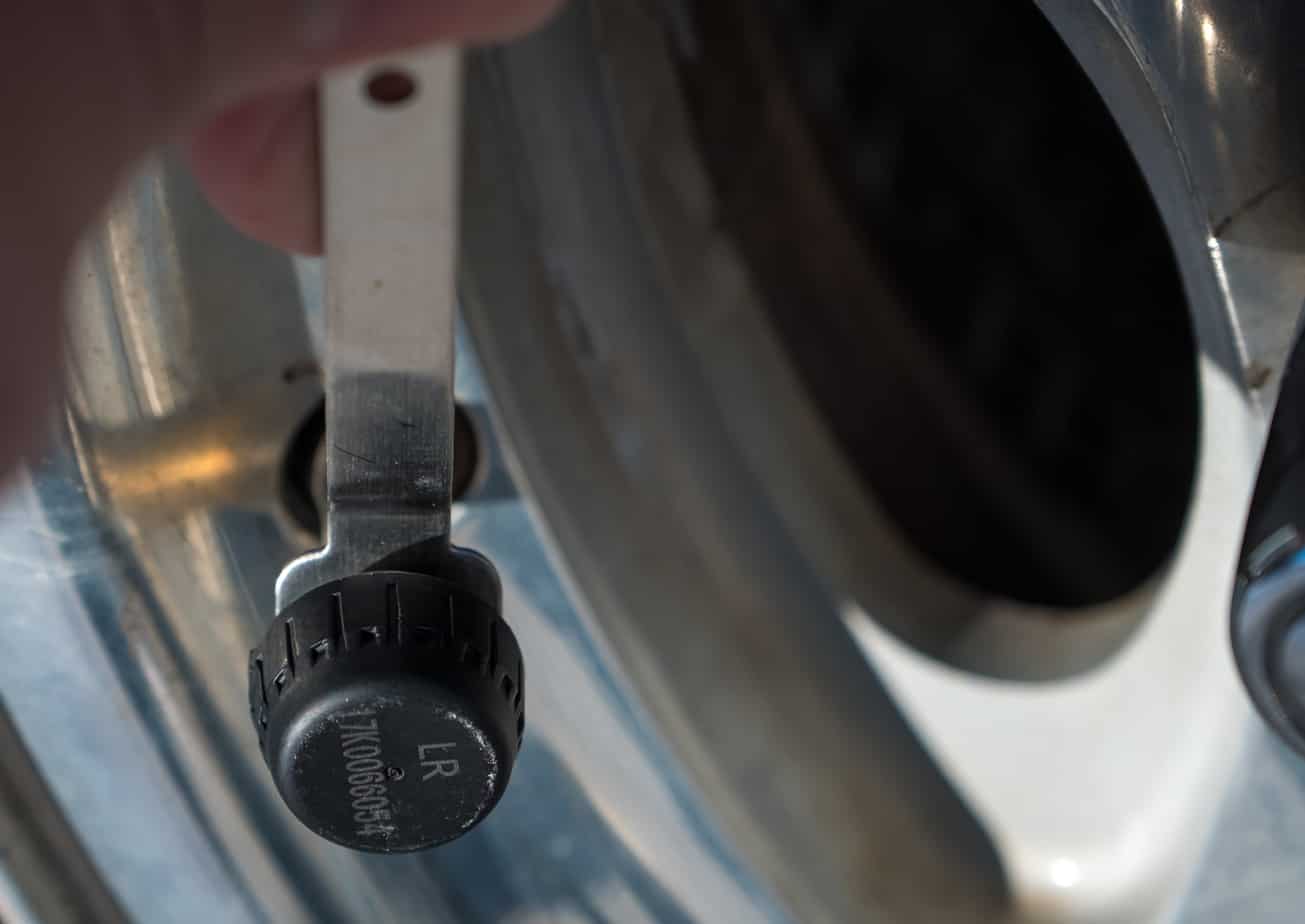
Step 6: Screw retaining nuts counterclockwise until tight against sensors. Lightly torque with supplied wrench
Step 7: Confirm air pressure on monitor matches your recorded pressures
Step 8: Place monitor on desired dash location


After you install the sensors and verify the pressure readouts are correct, you have the option of setting all kinds of alerts and warnings. Alarms can be programmed to tell you if a tire exceeds a maximum or minimum air pressure, and they can also sense if a rapid change occurs such as a leak. You can also set it to notify you when the tire’s temperature begins to raise out of the recommended levels. Unfortunately, all of these settings must be altered using just two buttons on the back of the monitor, so the process can be tedious.

So far the entire system has worked surprisingly well. Manual checks have confirmed the sensors readouts within 1-2 PSI in every case, and rain, salt, snow, and ice have yet to impact performance. Even after days of sub zero temperatures, with a low of -15 F, they continued to operate without fault. Their site claims they are waterproof, but I have yet to submerge them on a deep crossing. I did however blast them with a pressure washer for an extended time, and there was no change in operation.
One issue I have encountered however, is that the sensors can lose signal for a few seconds now and then. During that time the system will beep, warning you of the disconnect, and then reconnect not long after. It doesn’t happen very often, but on long drives those two or three minutes of beeping are enough to be annoying. I should note that thus far I’ve only experienced this issue with one particular sensor, so it’s possible that it’s an isolated incident.

Another problem I foresee with these sensors is the possibility of trail damage. They are large enough to look like sombreros on your valve stems, so there’s a good chance they would be ripped off when aired down in the rocks. For this reason, we recommend leaving the sensor off and reinstalling it after a trail run. Consider keeping your current valve stem covers for this time.
Power consumption seems to be minimal, and after plenty of cloudy northeastern weather the monitor is still running without being plugged in to the USB cable. Still, that plug is a nice backup to have in case you need it.
The retaining bolts on the back sides of the sensors have done an excellent job of keeping them in place over the past few thousand miles, but they do make airing up and down a bit more difficult. Each time you want to remove a sensor, you need to use the provided wrench to loosen the nut and then screw off the sensor. It’s relatively quick and easy, but it’s still an extra step. Note: DON’T LOSE THE WRENCH.

Overall, I have to say I was pleasantly surprised by the Yokaro TPMS system. It’s easy to use, affordable to purchase, and has been quite accurate. It has given me a new peace of mind on the road, and will undoubtedly extend the life of my tires. If you’re looking for a way to monitor your tire pressure without spending the big bucks on an expensive system, the Yokaro is worth a shot.
No comments:
Post a Comment