
High-quality camping and backpacking tents can be expensive, but they’re well worth the cost if you use them for years of adventures. In our experience, a little extra care goes a long way to prolong the lifespan of a shelter.
Here are a few tricks we’ve learned over the decades about properly maintaining, repairing, and storing tents to keep them in peak condition.
TENT PITCHING & PROTECTION TIPS
CHOOSE CAMPSITES CAREFULLY - One of the simplest things you can do to protect your tent is to choose your campsite wisely. Established campsites with smooth, packed dirt are the easiest on your tent floor. Before you set up your tent, do a quick sweep of the site and clear any loose rocks, sticks, and debris that could puncture your tent. A footprint will help prolong the life of your tent floor even further, but we rarely use one when backpacking since it adds weight.
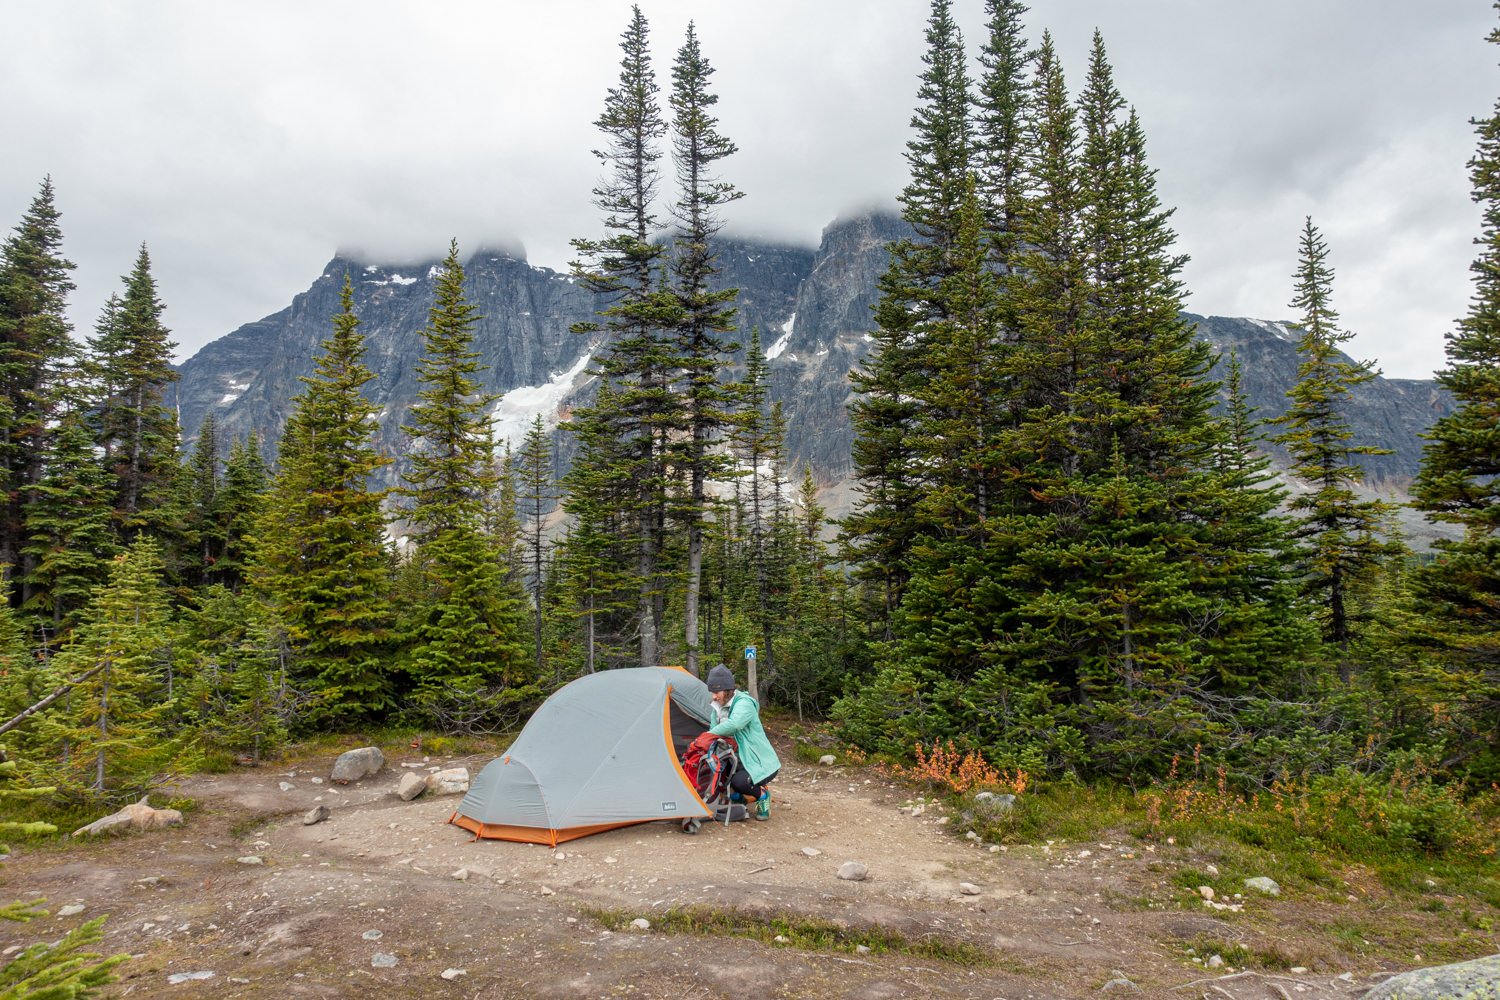
ESTABLISHED CAMPSITES WITH SMOOTH, PACKED DIRT ARE THE EASIEST ON YOUR TENT FLOOR
AVOID WEARING SHOES IN YOUR TENT - The lugs on your footwear can be hard on your tent floor and can track in abrasive pebbles and debris. It’s best to get into the habit of leaving shoes in the vestibule to reduce wear and tear, especially if your tent floor is made with thin material. A pair of slip-on camp shoes can be convenient if you tend to go in and out of your tent a lot. If your dog will be joining you, be mindful of potential damage from their claws as well. Putting a set of boot liners on their paws while they’re in the tent is an easy way to safeguard your gear.
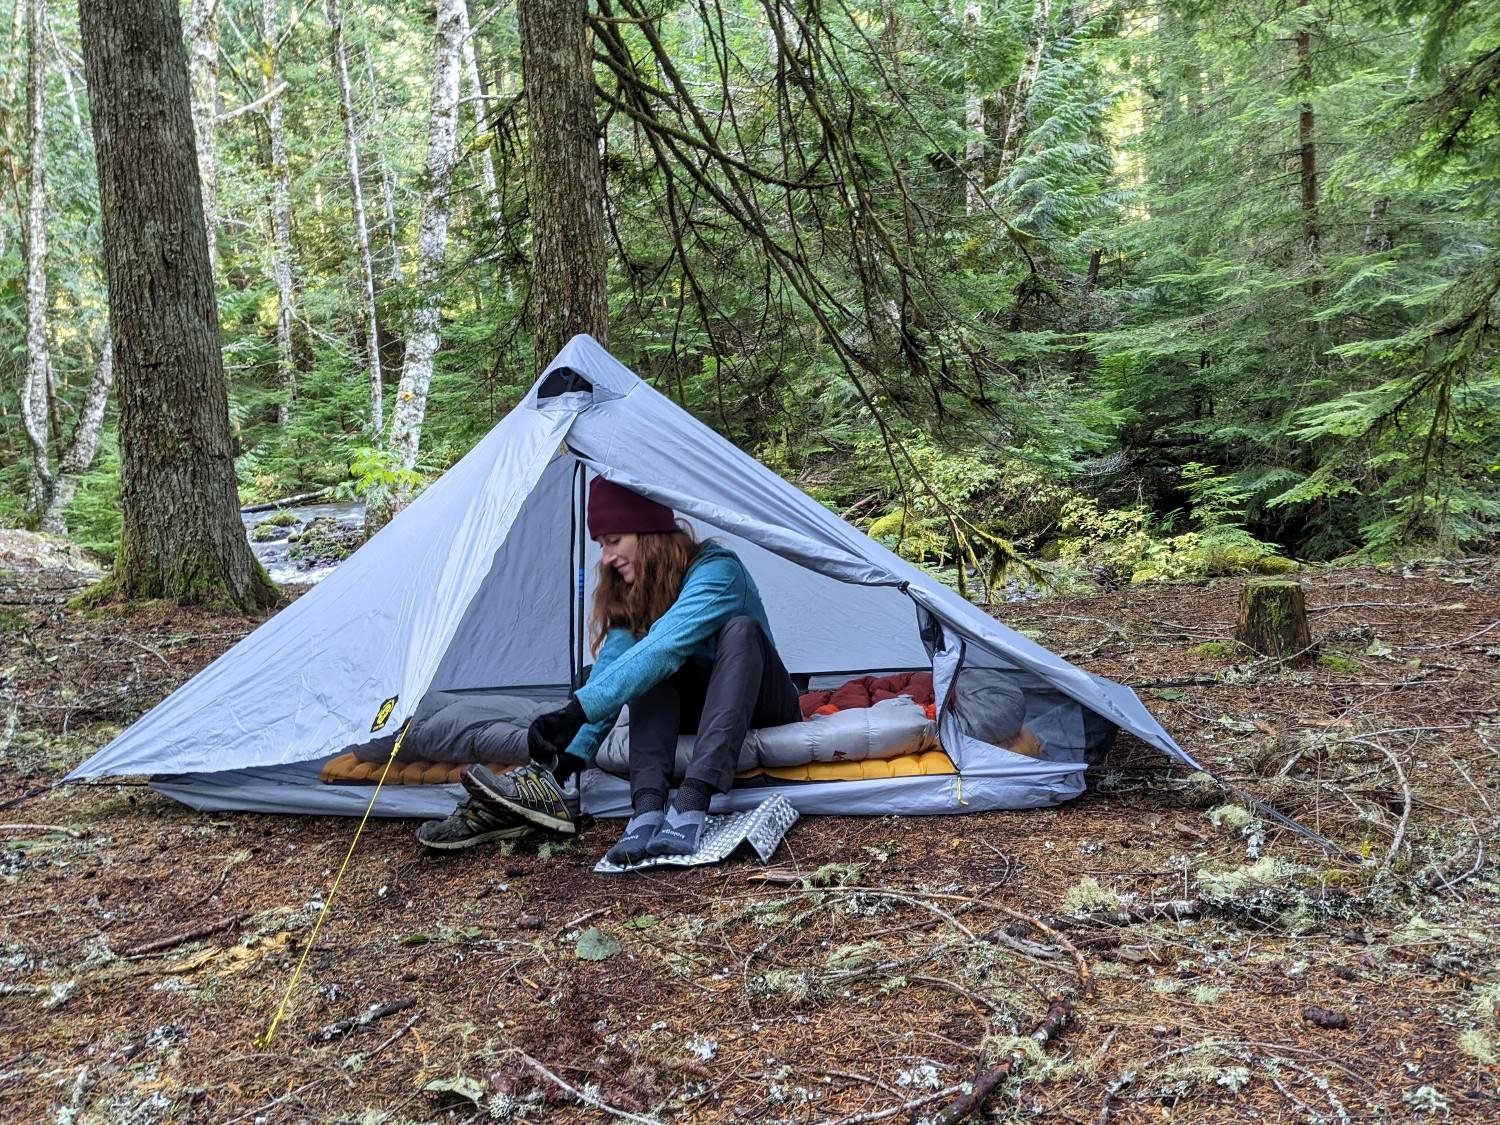
LEAVING YOUR SHOES IN THE VESTIBULE WILL KEEP THINGS MUCH CLEANER & REDUCE WEAR AND TEAR ON YOUR TENT
AVOID STORING FOOD IN YOUR TENT - Animals (mostly rodents) will happily chew through your tent to get to your food if they get a whiff. To avoid damage, it’s best to store your food in your car, an Ursack, or bear canister (when appropriate) away from your tent.

KEEPING YOUR FOOD IN A CHEW-PROOF URSACK OUTSIDE OF YOUR TENT WILL HELP KEEP RODENTS AT BAY
PROTECT YOUR POLES - During setup, it's an easy (and bad) habit to shake your poles and allow the shock cord sections to whip into place. This puts unnecessary stress on your poles and cords. Your tent will last much longer if you take your time and connect the segments one at a time by hand.
When taking your tent down, set your poles out of the way until you’re ready to break them down so you don’t accidentally step on them. And be careful not to overstretch the inner cords that hold them together when you fold them up.

CAREFULLY ASSEMBLE & FOLD YOUR TENT POLES TO REDUCE PRE-MATURE AGING
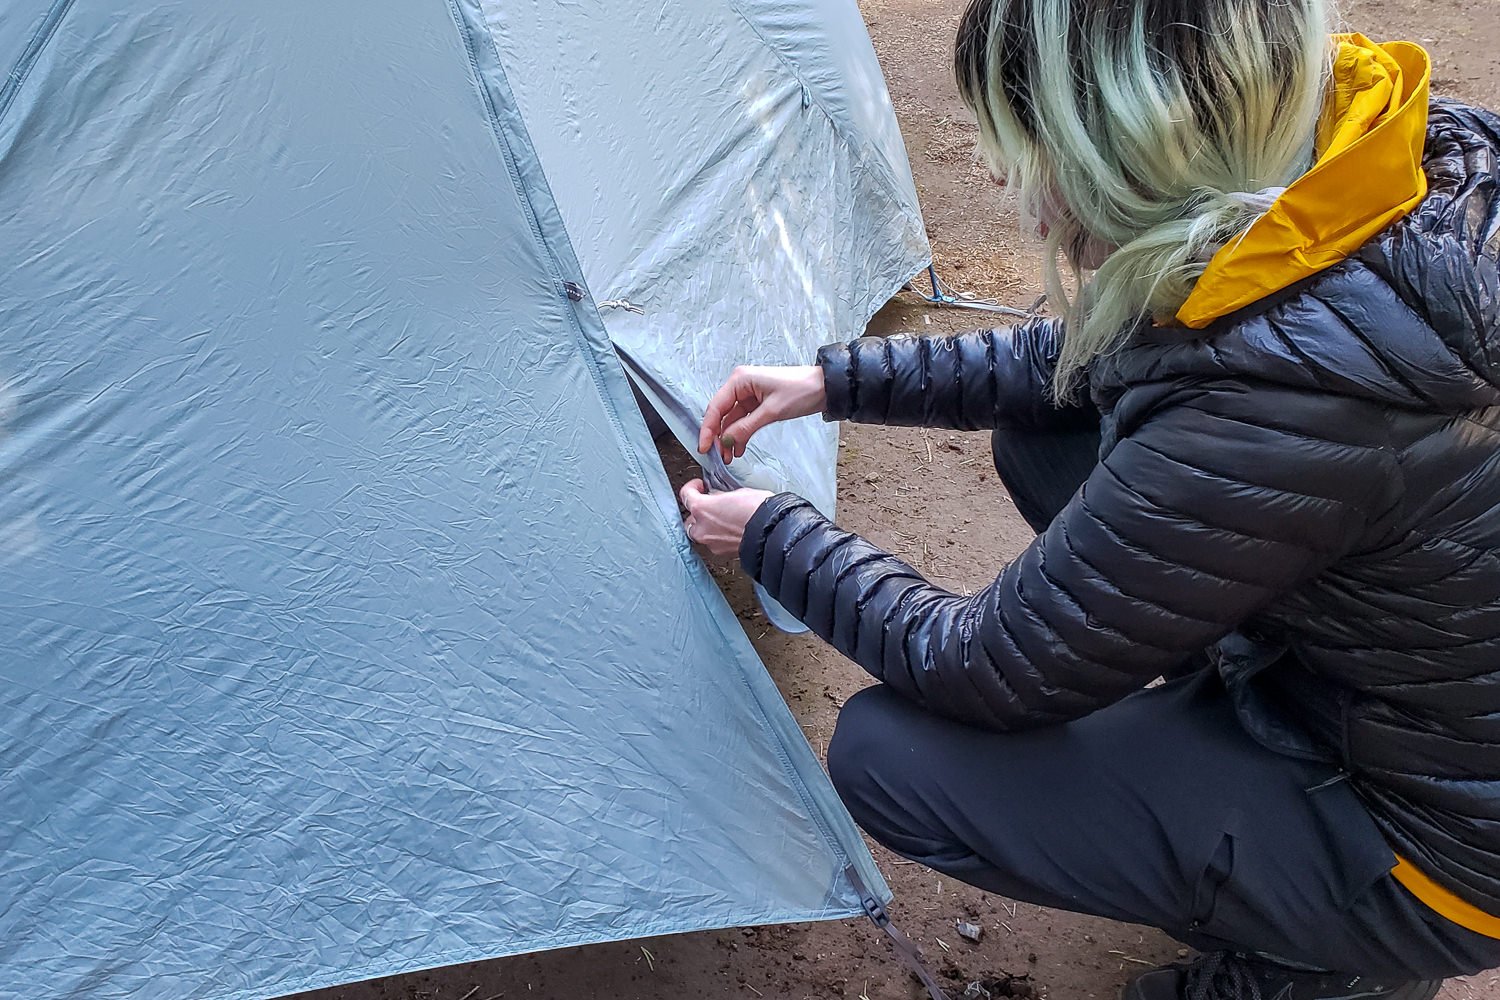
BE GENTLE WITH YOUR ZIPPERS - You’ll inevitably snag your tent’s zipper at some point. If this happens, don't force it. Instead, slowly and gently pull the zipper back while wiggling the fabric free. It can be helpful to have a small multitool with pliers to realign zipper teeth if they get bent out of place. Periodically wiping down your zippers with a damp cloth and applying a wax-based lubricant (or chapstick in a pinch) will help keep them working smoothly.
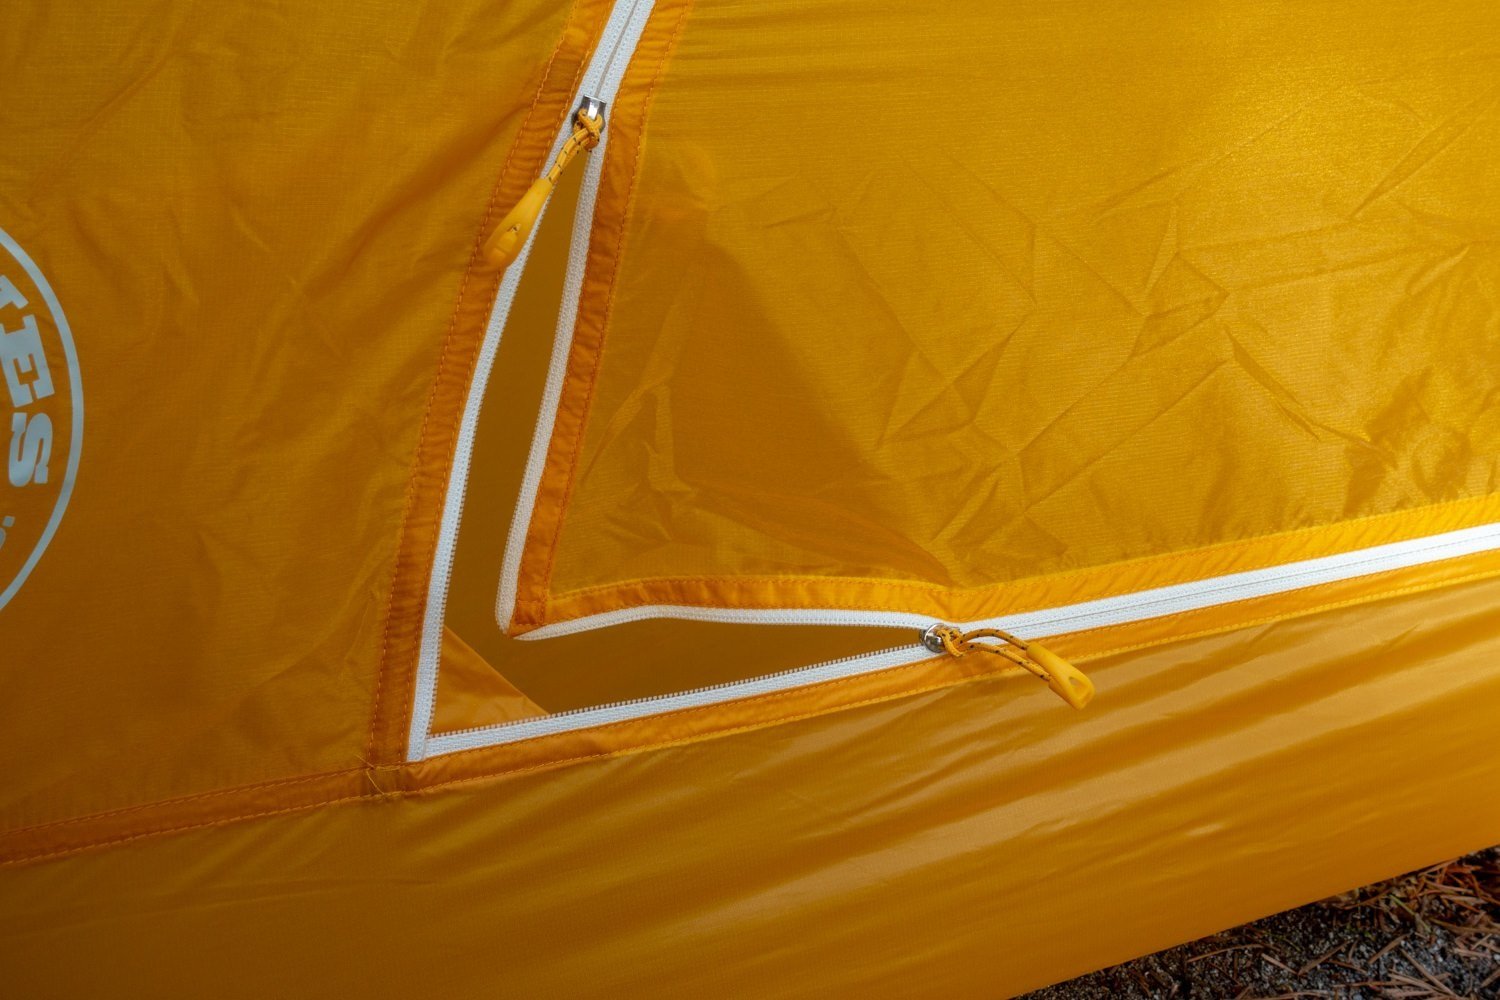
ZIPPERS TEND TO BE THE FIRST THINGS TO WEAR OUT ON A TENT, SO IT PAYS TO BE CAREFUL WITH THEM & GIVE THEM SOME LOVE
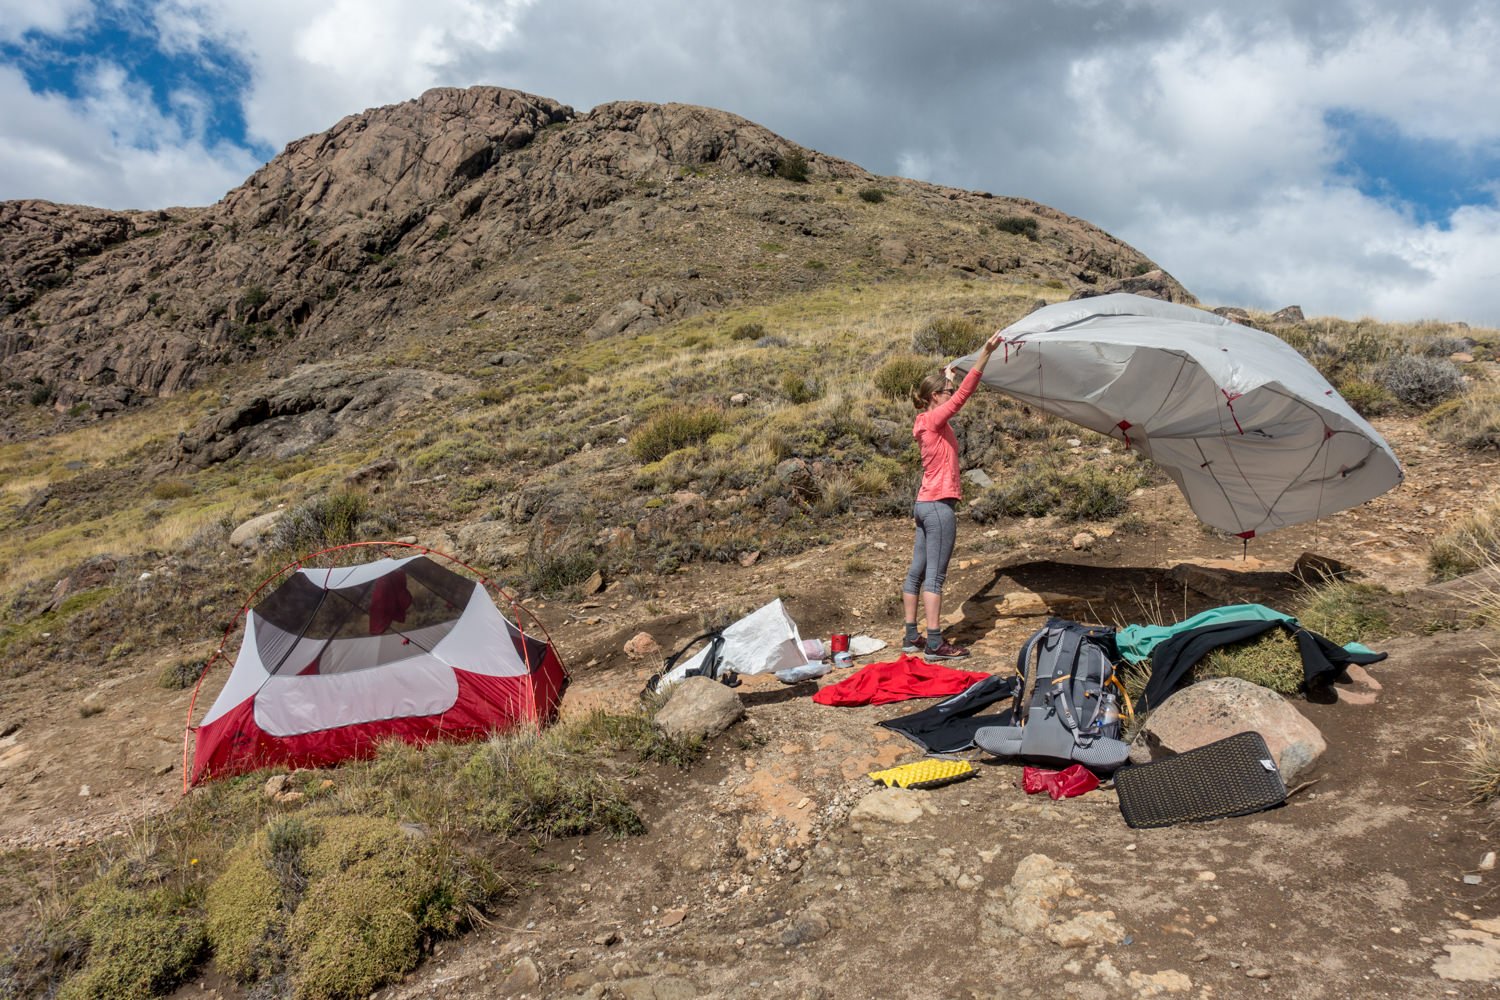
SHAKE OUT YOUR TENT WHEN PACKING UP - Shaking out your tent during takedown ensures that there is no debris or dirt left inside when you pack it in its stuff sack.
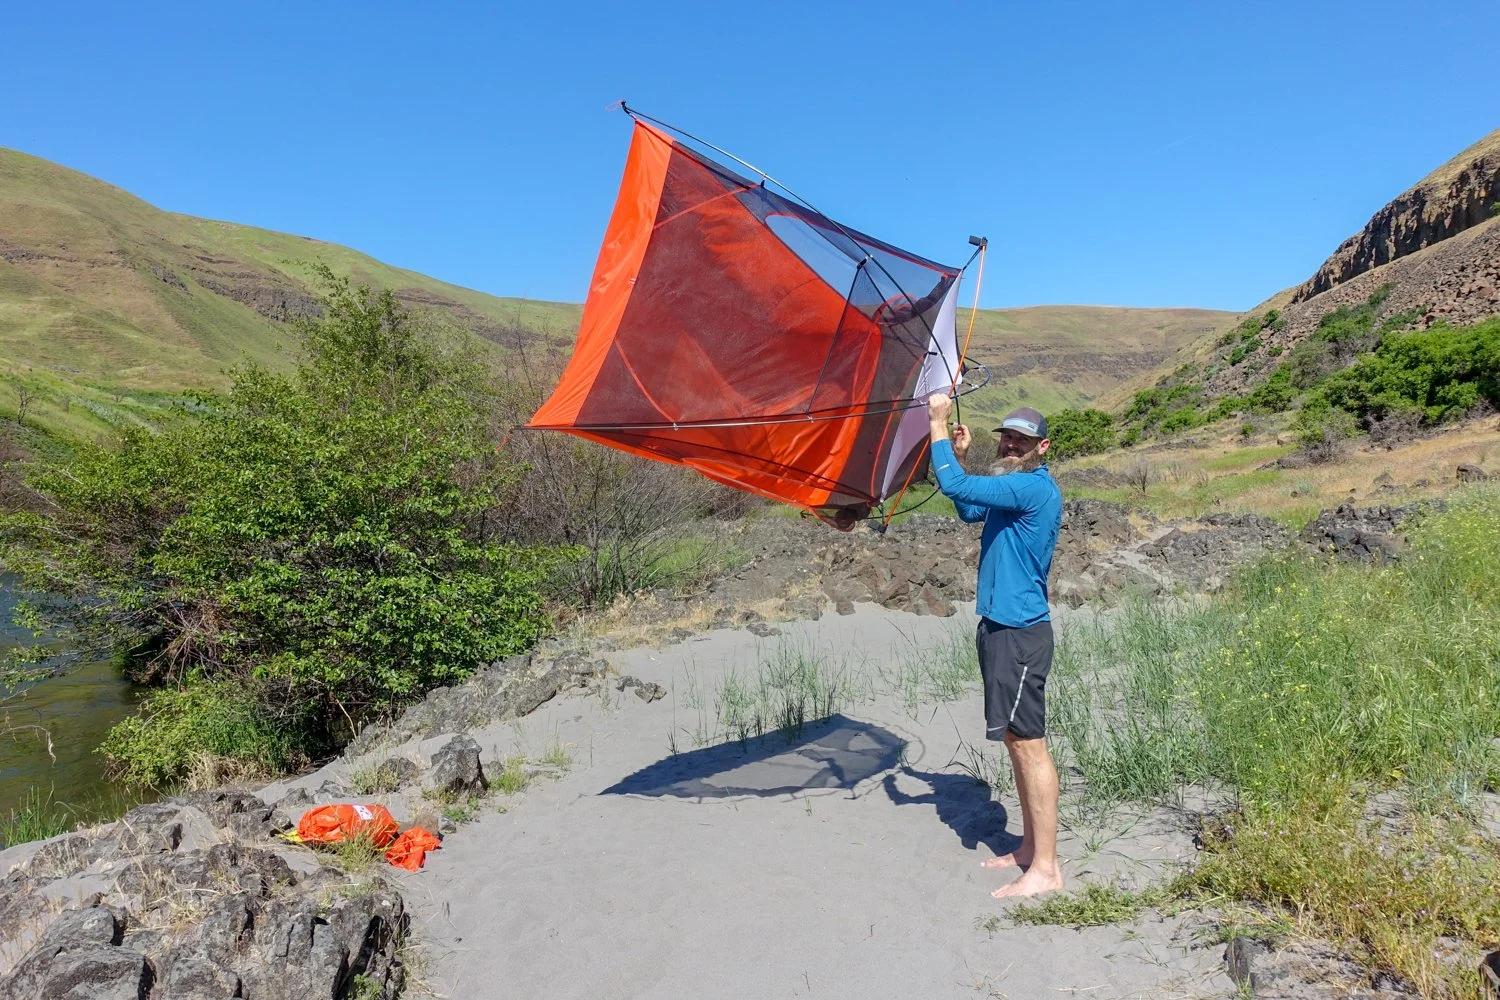
IT’S EASY TO SHAKE SAND & DEBRIS OUT OF YOUR TENT BEFORE PACKING IT UP, ESPECIALLY IF YOUR SHELTER IS FREESTANDING
ROLLING VS. STUFFING - The jury is still out on which method of packing up tents is best for longevity. Folding your tent into thirds and rolling it with the poles in the center protects the poles and can be gentler on the tent fabric than cramming it into the bag. As you start to roll, use your hand to sweep away dirt, sand, pine needles or any debris, as you continue to roll.
Carefully stuffing your tent into a stuff sack is another option. It’s quick and easy to do this on the trail (especially when a tent is wet) and doesn’t put stress on the same spots over and over again like folding and rolling does. Switching back and forth between these two methods - stuffing on the trail and rolling for storage after cleaning/drying - is a good happy medium.

WE PREFER TO SWITCH BACK & FORTH BETWEEN ROLLING OUR TENTS (FOR STORAGE) & STUFFING (ON THE TRAIL)
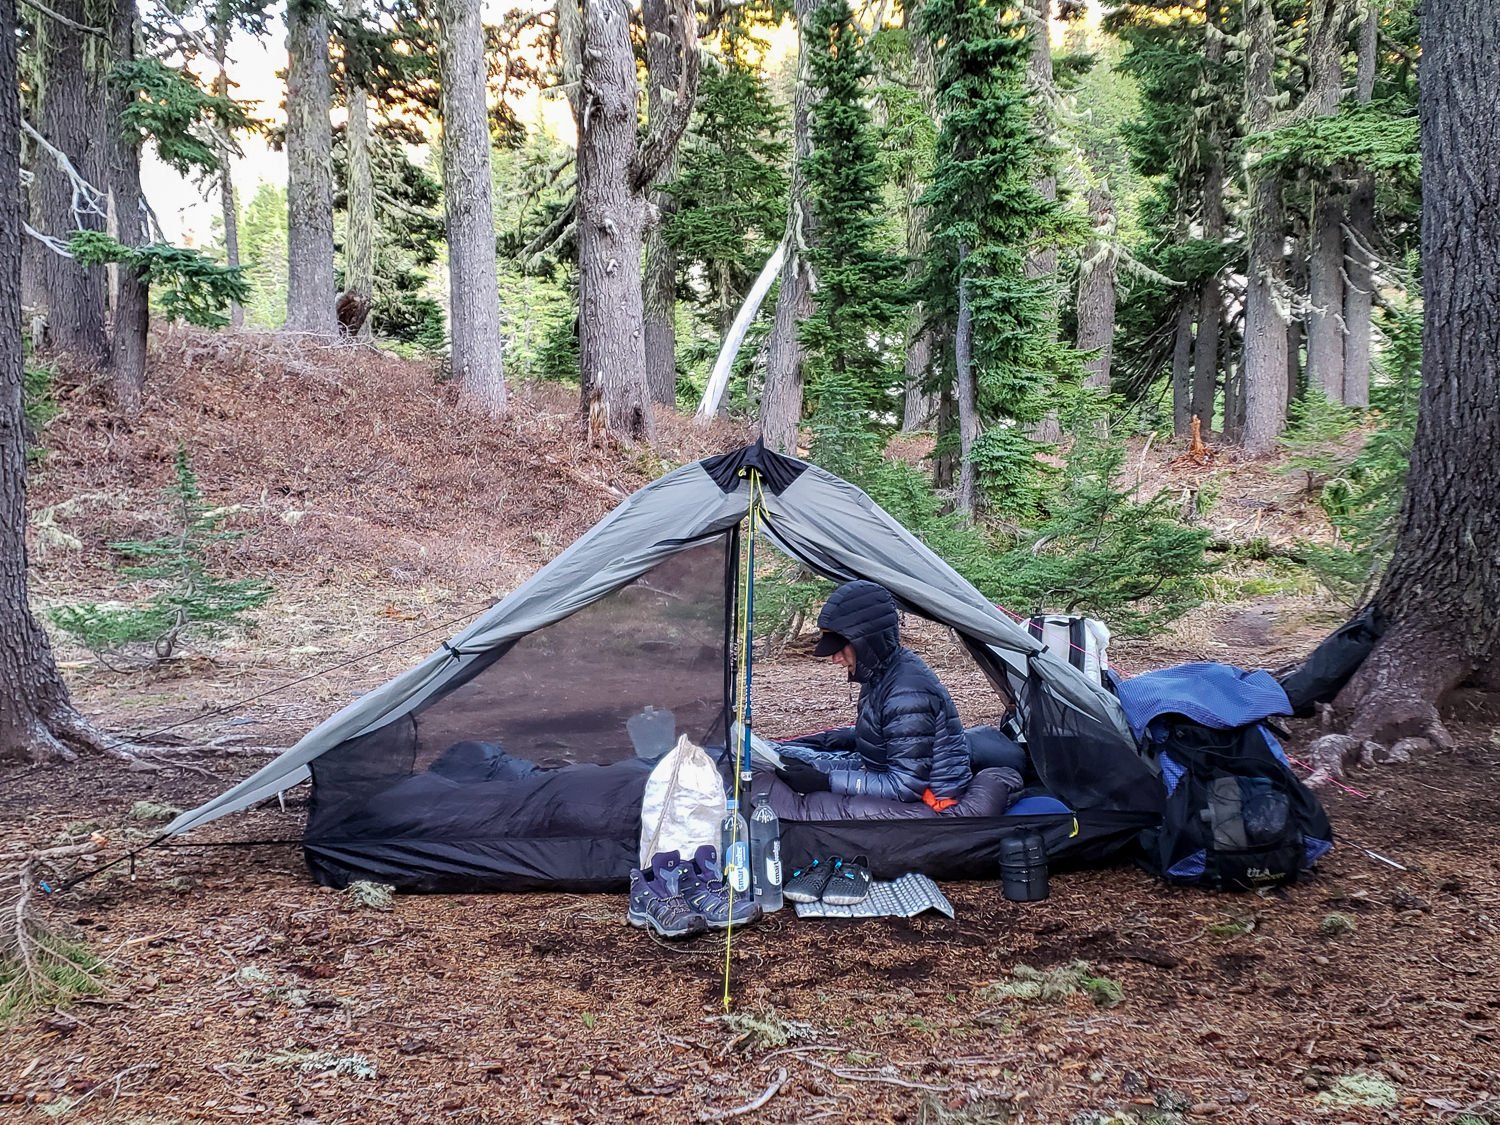
PROTECT YOUR TENT FROM DIRECT UV EXPOSURE - When possible, set up your tent out of direct sunlight, maybe under a tree canopy or in the shadow of a rock wall. The sun exposure can degrade the tent materials over time.

MOST TENTS ARE TREATED FOR UV-REISITANCE, BUT PROLONGED SETUP IN THE SUN WILL TAKE ITS TOLL ON THE MATERIAL
TENT CLEANING
Before you hit the trail, fully inspect your tent for odors and any sort of deterioration. Deteriorating materials often lead to an overgrowth of mold or mildew spores and sometimes even bacteria). This can also happen to tents stored while damp or dirty. Below are some general tips for spot cleaning, deodorizing your tent, and recoating your seams.
Remember to always avoid washing and drying machines as they can stress the seams, zippers, and mesh of your tent.

IT’S WELL WORTH THE EFFORT TO SET UP YOUR TENT & INSPECT IT PRE-TRIP IF YOU HAVEN’T USED IT IN A LONG TIME
SPOT TREAT YOUR TENT - Pre-treat any stains with an organic citrus-based solvent or mild dish soap and a non-abrasive sponge. If you’re dealing with stubborn tree sap, try rubbing it with an ice cube to harden it before scraping it off. You can also sandwich a sap spot with paper and very cautiously run a warm iron over it. After you spot clean the problem areas, give the tent a good all-over wash by following the steps below.

SPOT TREAT PROBLEM AREAS ON YOUR TENT APPROPRIATELY BEFORE GIVING IT A FULL WASH
DEODORIZE & CLEAN - If the tent needs a deep cleaning or needs to be recoated because the waterproofing has worn away, use a cleaner specifically formulated to protect the tent’s Durable Water Repellent (DWR) finish. Our go-to tech cleaner, Nikwax Tech Wash, can be used to remove dirt and residue that otherwise prevents waterproofing polymers from bonding to the tent fabric.

NIKWAX TECH WASH PROTECTS YOUR TENT’S DURABLE WATER REPELLENT (DWR) FINISH
If your tent has a really strong odor similar to vomit (an odor caused by a specific strain of mold), fill a laundry utility sink or a bathtub with warm water and 4 cups of baking soda or a cup of enzyme cleaner. Nature’s Miracle is an excellent low-cost, multi-use enzyme odor remover. Soak for about two hours. Check for lingering odors. Once the odor is gone, rinse it well, and hang it up to dry. Make sure it’s 100% dry before storing.
re-Waterproofing Your Tent
RECOAT SEAMS - Check the seams on the rainfly, tent body, and floor to see if the tape is still smooth and flat. It can start to lift up around areas of stress - especially the seam between the floor and canopy, on corners, pole sleeves, and zippers. Untaped seams that were previously sealed will show peeling when they need to be retreated.
IF YOUR TENT NEEDS TO BE SEAM SEALED, USE A REPUTABLE PRODUCT LIKE GEAR AID’S SEAM GRIP
Seam tape and seam sealing fills in the tiny holes that result from sewing machine needles punching through the fabric. Dyneema or silpoly (polyurethane coated silnylon) tents are typically seam-taped. Silnylon is too slippery for seam tape to stick, so tents constructed from this material must be seam sealed with a liquid sealant.
Seam sealer can be used to re-seal both types of seam treatments. We like Gear Aid Seam Grip and Tent Fabric Sealant.

GEAR AID SEAM GRIP CAN BE USED TO RE-SEAL ANY TYPE OF SEAMS
Seam Sealing Instructions
1. Determine where the seam sealer should be applied - on the inside or outside of the seam. It often depends on which side the original tape or sealant was applied to. One way to check is to dribble some water on the seam. If the droplets puddle up, the seal is on the opposite side. If the droplets bead up or roll away, you are probably on the side of the original seal.
2. Using a ¼-inch foam or bristle paintbrush, recoat seams in the floor and interior walls of the tent body and fly. Look for any small holes in the tent, hitting them with a little dab of the same sealant.
3. Allow sealed seams to dry 24 hours before packing the tent up or moving on to recoating the tent body, floor and fly.
SOME ULTRALIGHT TENTS DON’T COME SEAM-SEALED, BUT IT’S EASY TO DO IT YOURSELF OR YOU CAN PAY A FEE TO HAVE IT DONE
RE-WATERPROOF YOUR TENT BODY, FLOOR & FLY - This should only be necessary on tents where the waterproofing - polyurethane (PU) coating - has significantly worn away. One sign of this is when the fly or tent walls start to stick together. A good product is Gear Aid’s Tent Fabric Sealant.

YOU SHOULDN’T HAVE TO RE-SEAL A NEW TENT FOR A LONG TIME, BUT WHEN THE TIME COMES IT’S A SIMPLE PROCESS
Re-Coating Instructions
1. Lay the tent on a hard surface and scrub off as much of the flaky coating as you can using a bristle brush. Wash and dry per the above instructions.
2. Set the tent body up on a clean, hard surface and apply two coats of sealant (let the first dry 24 hours). A wide 2- to 3-inch foam brush makes application easy, and produces a clear and flexible finish that will make your tent look almost new. Spray PU is also an effective option, albeit more expensive. We like this one that includes solar-proofing and waterproofing in one: NixWax Tent & Gear SolarProof.
3. Allow to dry at least 24 hours before packing up.
TENT REPAIR BASICS
If you’re handy, you should be able to handle most tent repairs on your own. In a pinch, duct tape and Tenacious Tape can be used as a temporary fix for broken poles and tent holes or tears in the field. Here are some easy solutions to common issues:
FABRIC HOLES & TEARS - To repair small to midsize holes or tears in a tent, we use Tenacious Tape. This waterproof tape will work well on rips, holes, and gashes in most outdoor gear. It comes in a variety of colors in tape rolls or pre-cut patches and lasts years longer than duct tape since it’s less likely to peel up on the edges.
For tears or holes in the tent’s mesh windows or doors, carefully pinch the hole closed and stitch the sides together using a needle and thread or use mesh Tenacious Tape patches.

TENACIOUS TAPE & A SMALL SEWING KIT SHOULD COVER YOUR BASES FOR TEMPORARY TENT FIXES IN THE FIELD
ZIPPERS - If a zipper gets stuck, don’t yank on it. Hold the fabric tight and try to work out the jam with small movements. If you have a graphite pencil with you, it may help to rub the tip on the teeth. An emergency fix for a door with broken zippers that will (sort of) spare you aggravation in buggy environments is to keep some small safety pins in your repair kit for pinning the door closed. To actually fix a broken zipper, you’ll need to use a zipper repair kit at home.

USE VELCRO & CLIPS ON THE FLY IF YOUR TENT WAS DESIGNED WITH THEM TO REDUCE STRESS ON THE ZIPPERS
TENT POLES - Duct tape is a solid repair option for poles that break in the field. For our trips, we cut a 2-3-foot section of duct tape and wrap it around a trekking pole or a lighter. Most new tents come with a small 3-5 inch section of pole material to use as a splint or you can use a tent stake to make one. Place the splint across the broken or bent sections and wrap duct tape around it to hold it all together. When you get home, check with Tent Pole Technologies for a replacement pole.

MOST NEW TENTS COME WITH A POLE SPLINT, BUT YOU COULD ALSO BUY ONE SEPERATELY, OR IMPROVISE WITH A TENT STAKE
How to Re-Tension Slack in Poles
If your tent poles are too slack, they may not provide a stable structure when you set the tent up. This is one of the typical ways poles break. Once home, you can either completely replace the shock cords in them or simply shorten the existing cords.
To shorten existing shock cords, pull (carefully, using a strong grip plier) the aluminum end cap off each pole. Holding onto the slack cord, pull it until it is taut (on the open end), keeping all the pole segments together. Cut the cord and tie a small knot. The cord should be about 65 to 75% of the length of the pole. Slip the little knot inside the end pole segment and replace the end cap.

IF YOUR TENT POLES HAVE TOO MUCH SLACK, YOU CAN TIGHTEN UP OR REPLACE THE SHOCK CORDS INSIDE
STAKES - If you lost or damaged a tent stake, you can improvise in the field with a combination of sticks and rocks. Drive a stick into the ground as you would a stake, then find heavy rocks to place in front of the stick (between stick and tent) to stabilize.
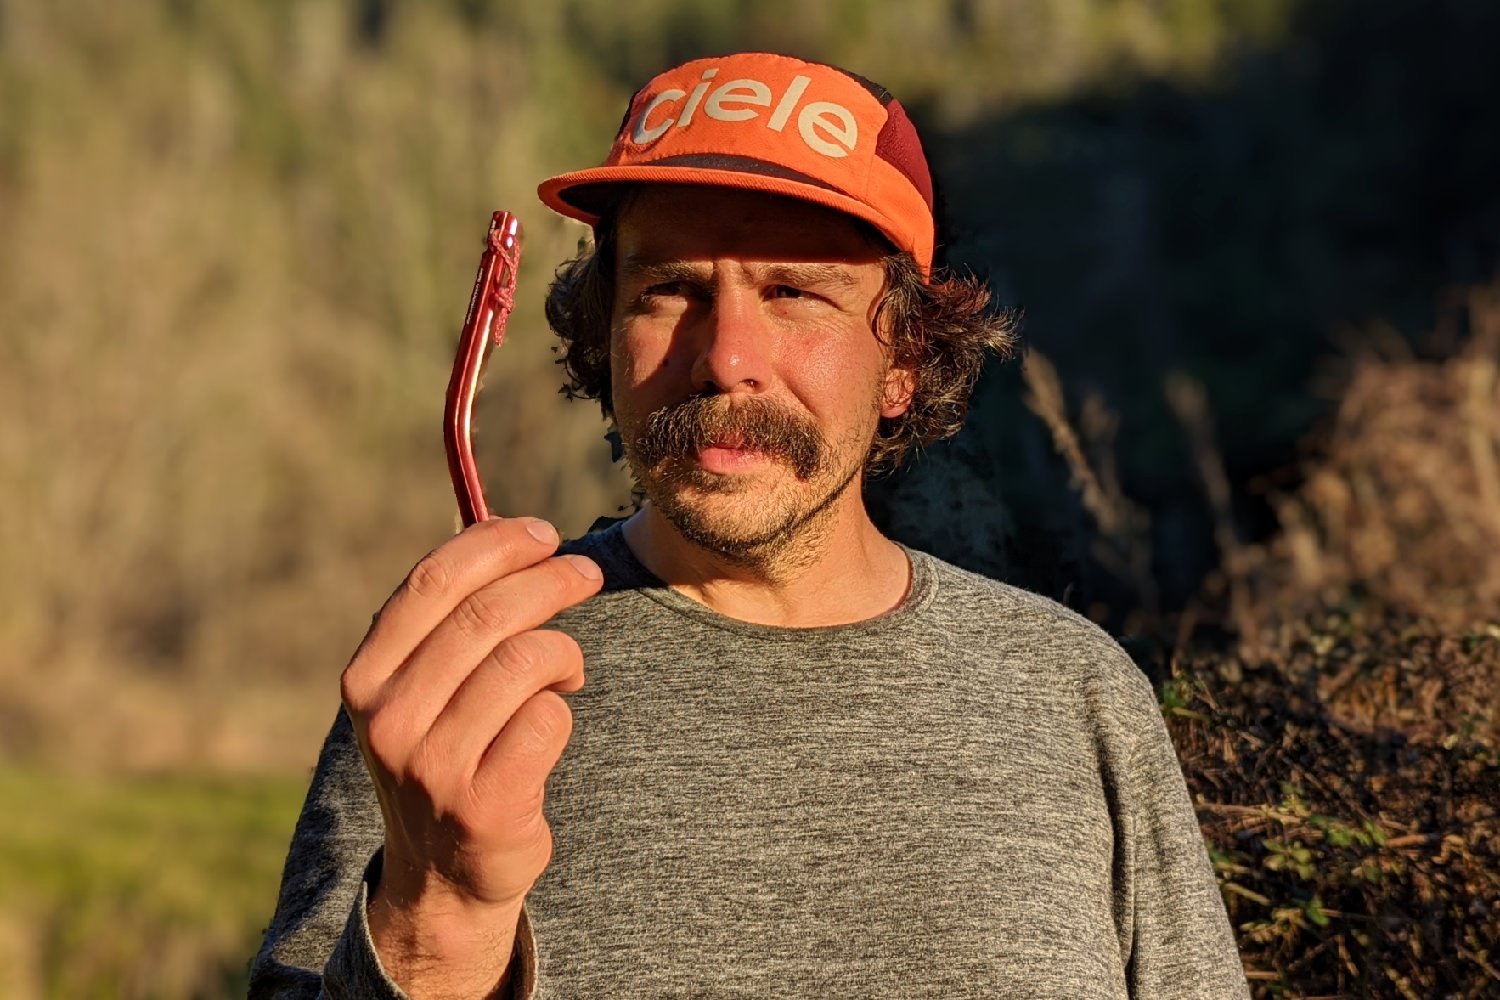
IF YOU BEND OR LOSE A TENT STAKE, IT’S TIME TO GET CREATIVE WITH ROCKS & STICKS TO SECURE YOUR TENT
TENT STORAGE TIPS
After you return home from your trip, it's easy to just throw your gear in the garage and let it sit until your next trip. How you store your tent can have adverse effects on its longevity. Follow the steps below to ensure your tent gets some love.
SHAKE YOUR TENT OUT & HANG IT TO DRY COMPLETELY - Allowing your tent to dry 100% before storage is one of the most important tent care instructions you can follow. Storing a damp tent will cause the tent fabric to grow mildew, which is not only unsightly and terribly smelly, but it also degrades the waterproof coating on the fabric.
AIR YOUR TENT OUT & LET IT DRY COMPLETELY BEFORE STORING IT LONG TERM
PACK YOUR TENT LOOSELY - Instead of storing your tent in a stuff sack long term, pack it loosely in a large mesh bag or a duffel bag to allow more air to circulate. This will help prevent moisture trapping that leads to mold and mildew.
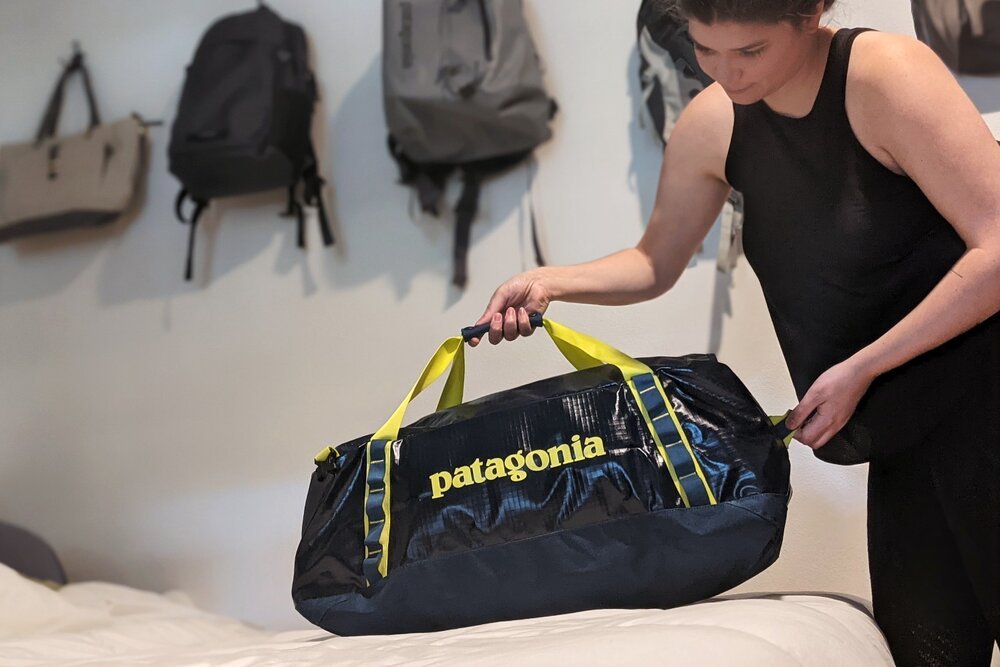
STORING YOUR TENT LOSELY IN A DUFFEL BAG IS MUCH BETTER FOR IT’S LONGEVITY THAN KEEPING IT TIGHTLY PACKED IN A STUFF SACK
STORE YOUR TENT IN A HEATED AREA OF YOUR HOME - Though unheated basements, attics, garages or storage units seem like the best place to get gear out of your way, most will lack insulation and will be inherently musty or odor producing. Instead, store your tent in a heated area of your home, like a spare bedroom or hall closet.
More Information
We hope this guide helps you care for your tent properly so you can use it for years of outdoor adventures. As always, please leave a comment below if you have any recommendations, questions, or suggestions or visit our Facebook page and Instagram to join the community conversation. If you found this review helpful, please share on social media and click the little heart button below to give us a digital high five!
If you enjoyed this review, you'll probably like our other gear lists as well. Here are some popular resources from the CleverHiker Gear Guide:
Best Stoves, Food, Water Filters, Jackets & More: CleverHiker Gear Guide
Some of the links on this page are affiliate links, which means we may receive a modest commission if purchases are made through those links. This adds no cost to our readers and helps us keep our site up and running. Our reputation is our most important asset, which is why we only provide completely honest and unbiased recommendations.
No comments:
Post a Comment