Hello Operators.
Once or twice a week I receive a question asking about computer shutdowns during data mode operation, when using more than a few watts TX. The computer used doesn’t matter, it could be the mini pc, or a Raspberry Pi. Sometimes it even happens to laptops and tablets.

What we are usually talking about is “Common mode currents”. Here are my best tips for reducing or illuminating this problem.
Normally when we start talking about this problem, people will offer solutions or “advice” which treat the symptoms, but not identify the actual cause. When you hear that nonsense smile nicely, then walk away.
Very often we get common-mode currents when when using non-resonant, unbalanced, or poorly setup antenna. 9:1 random wire EF is notorious for causing this problem.
Station grounding
Station grounding can do wonders to prevent common-mode currents from wreaking havoc, on our radios, computers and power supplies. A sufficient ground is important for your antenna, radio, antenna tuner if using an external one, and computer. This is straightforward in the shack, but not always convenient when operating portable. We will come back to operating portable later on in the article.
Home station At my home station, there is a copper ground rod, (several meters/yards deep) driven into the ground. Attached to this ground rod are several radials spread out as far as possible in all directions. Also attached to the ground rod is a copper ground strap that runs into the shack, to a common ground bus bar, located behind the desk. The radio, antenna tuner if using one, and any other peripherals attached to my radio are all attached to that ground bus.
Antenna Ground rod and radials If I’m using an end fed or unbalanced broadband antenna, it also gets its own copper ground rod and radials. I always try to use quarter wave radials underneath the antenna. If I can’t, I’ll cut them in half to create twice as many. If those are still too long, I’ll cut them in half once more, again doubling the amount of the radials albeit very short ones. Remember, we’re looking for “ground potential” here.
Feed line Now our station equipment, and antenna have a good path to ground. Since common-mode currents travel from our antenna to radio, over the shield of our feed line, they will now happily find “the path” rather than “a path” to ground. Unfortunately this may still be insufficient. If we are operating higher power, or not able to set up a sufficient ground Network as mentioned in the previous paragraphs, we take it one step further.
Choke balun 1:1 choke balun blocks the path of common mode currents traveling along the coax shield, into the shack. This choke balun Works in cooperation with the ground rod and radials. We place this choke balun at the end of our feed-line, just before it attaches to the antenna.
I know some of you will say “wait a moment Julian”, we’ve seen you place the choke balun at the close end of your coax just before your radio. This is a different discussion, one which deals with using your coax cable, as the counterpoise. Let’s not think about that for now, because it confuses the discussion.
So our choke balun is placed between our coax cable and our antenna, at the antenna feed point. With everything we’ve done so far it means:
- we have sufficient ground on the radio,
- we have sufficient ground at the antenna,
- we’ve blocked the path for common mode currents to travel down the feed line to the radio,
- and those common-mode currents are given a good path to ground, both at the antenna and at the radio (if they make it that far).
If you plan to build your own choke balun, Gil has done a wonderful video explaining why and how. You can watch it here
Wire mess
The next thing we have to talk about is ridiculously long wires and so many of them. USB cables, coax patch cables, power cables, cat control cables, audio cables,… manufacturers tend to deliver 6 foot or 2 meter long cables with everything. Throw them in the trash! Build custom cables the shortest length possible, to connect between your radio and peripherals.


If your Raspberry Pi is sitting just next to your radio, there’s no need to have several meters/feet length of USB cable between it and your rig. The same goes for the length of the audio cables between your radio and rig. If you’re using an external antenna tuner, keep those patch cables as short as possible. The bottom line here is, cables should ALWAYS BE AS SHORT AS POSSIBLE! It doesn’t matter what type of cable they. This is true in the shack, as well as out in the field. Apologies for “yelling”.
In addition to shortening our cables, the quality of the cables is also important. We should always use shielded cables. Yes I know they are more expensive, but the cheap junk generally supplied with peripherals we’re buying from China (you know the ones), they usually end up in the junk box. These are not the cables we want to use! Throw them in the trash! In a moment we will talk about clamp-on toroids. Using clamp-on toroids with poor quality cables only hides the problem, it doesn’t solve it.
Clamp on toroids you’re probably wondering why I put this the near end of the article. Well, most people giving advice will start here, clamp-on toroids. Unfortunately it’s a ridiculous way to “solve” the problem since it actually treats the symptoms, not the causes.
So assuming you have already gone through all of the things I’ve written earlier in this article, it doesn’t hurt to use clamp-on toroids to finish up the job. If you’ve done a good job you won’t need them, but they won’t hurt. What they are better with, is helping to quiet down local sources of noise. Like that cheap charge controller which was such a good deal.  It can’t be stressed how important it is to finish up with toroids rather than starting with them, since they hide the true cause of the problem.
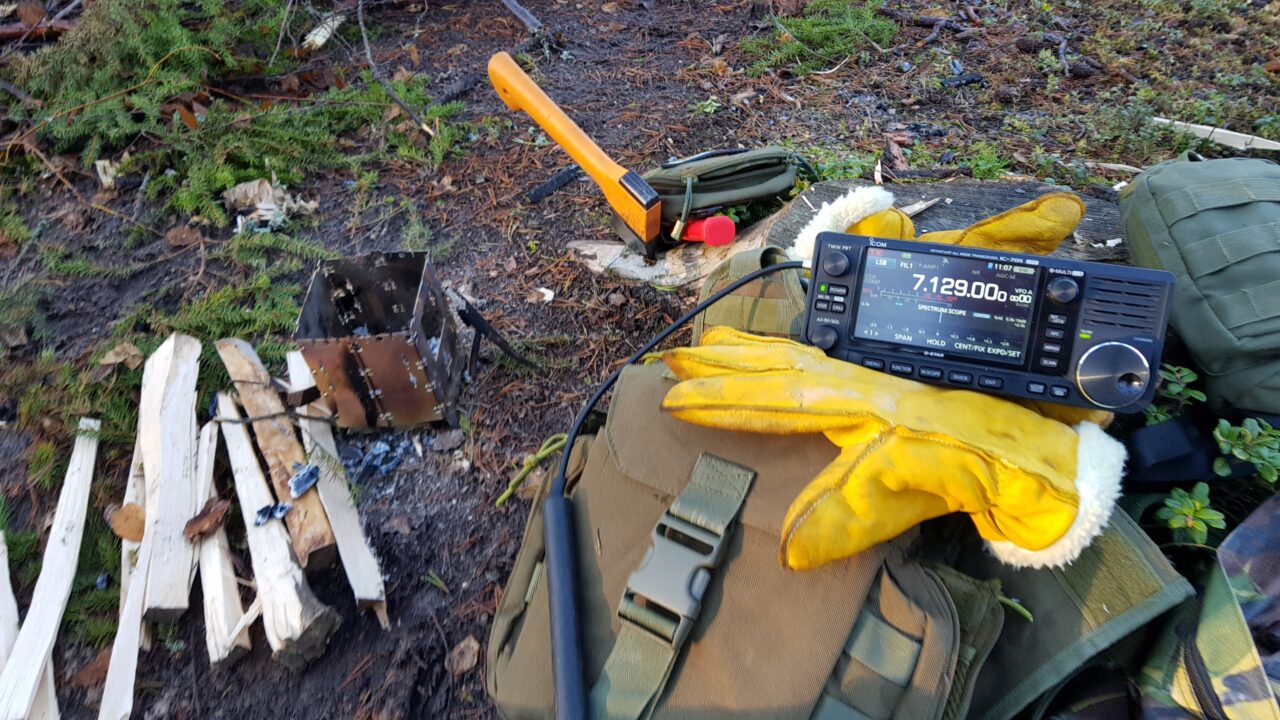
Portable Station

Everything mentioned earlier in this article regarding the home station is also true for a portable station, albeit within reason. It’s unlikely anyone will ever carry a couple of meters long copper pipe and sledgehammer out in the field, driving it down into the ground. This is one reason balanced antennas are nice for portable Communications. Unfortunately balanced antenna are often difficult to raise, especially in heavily wooded forests, or where it’s difficult to get their feed point high enough for good performance. In this regard, the end fed antenna is our friend. Just remember, we need to deal with creating enough ground potential to allow it to operate efficiently, and play nice with the rest of our station.
Earlier in this article I mentioned ground potential. The difference with creating a good path to ground while portable versus in the ham Shack, isn’t all that different. We just need to Apply these methods within reason.
I use tent stakes as a station ground Rod. One for the radio, one for the antenna.
Antenna Attached to an aluminium tent stake, is a short length of copper wire, terminating with an Anderson power pole. These are attached to the cold side of the antenna. That tent stake is driven into the ground. Don’t worry, it’s not very deep. Also attached to the tent stake is a series of radials, about one meter or yard long. These are deployed in multiples of 3. 3, 6, 9, and so on. I use the lightest, thinnest wire I can find. At the end of those wires there’s a loop made of stretch cord. In that Loop I’ll cut pieces of wood found in the forest, to spread them in a circular pattern around the tent stake. This isn’t perfect, but it’s more than sufficient for most random wire end fed antennas with a 9:1 balun. It also does very well for the chameleon MPAS EMCOMM 3p,…
1/4 wave vertical When using a quarter wave vertical, a similar system is employed, using the tent stake and radials. The difference is the radials are a quarter wavelength of the lowest band you want to operate. We can also make them 1/8 wavelength, but we should double them up. This is also true for 1/16 of a wavelength, but quadrupling them. This is assuming we’re using something like the Super Antenna MP1, or DX Commander as an example.


Station Ground On the radio side, we also use an aluminium tent stake. Attached to the tent stake is a jumper with an Anderson power pole at the end. The radio ground lug also has a small jumper with an Anderson power pole. The jumper from the radio, is attached to the jumper from the tent stake, with the tent stake being driven into the ground. The feed line coming from the radio can be set up in two different ways. If you don’t have a very good ground system on your antenna, you can deploy a long feed line, and place your choke balun at the end of the feed line, just before your radio. Then use a small patch cable to attach it to your radios antenna port. This allows your coax cable to become part of your antenna, while still allowing common-mode currents to be blocked for the most part, and or given a path to ground.
You can also put that choke balun at the antenna feed Point as we do with our home station configuration. Just keep in mind more radials may be required at the antenna.

Normally I would add a lot of diagrams and images to show you what’s going on here, but I decided to write this all out, forcing readers to think about it. I invite you all to experiment! It sounds terribly complicated but I promise, it’s anything but difficult. Finally, you may not ever hear me talking about it on the channel, but I assure you station grounding on the radio and antenna side, is almost always there. The only time you won’t see it is when I’m using a magnetic loop, or a balanced antenna. In any event some amount of station grounding is always there. Usually, it’s enough that I don’t need to use Snap-on toroids.
So please do some experimentation, before opening that email client and asking for help. This is one practical lesson, we all need to learn for ourselves.
I promise to stop rambling in just a moment. There is just one more thing I want to cover. All of the station grounding tips covered in this article, will also help improve your stations performance. With improved station grounding your noise floor will be reduced, allowing you to decode much further down into the noise. With improved station grounding, your antenna will also perform better. This means you’ll be heard further (or better) and you’ll be able to achive the same results, using less power. Better station grounding at home or in the field, will put more of your signal out of the antenna, than not investing the effort to do it. So please do give it a try.
73
Julian oh8stn
No comments:
Post a Comment