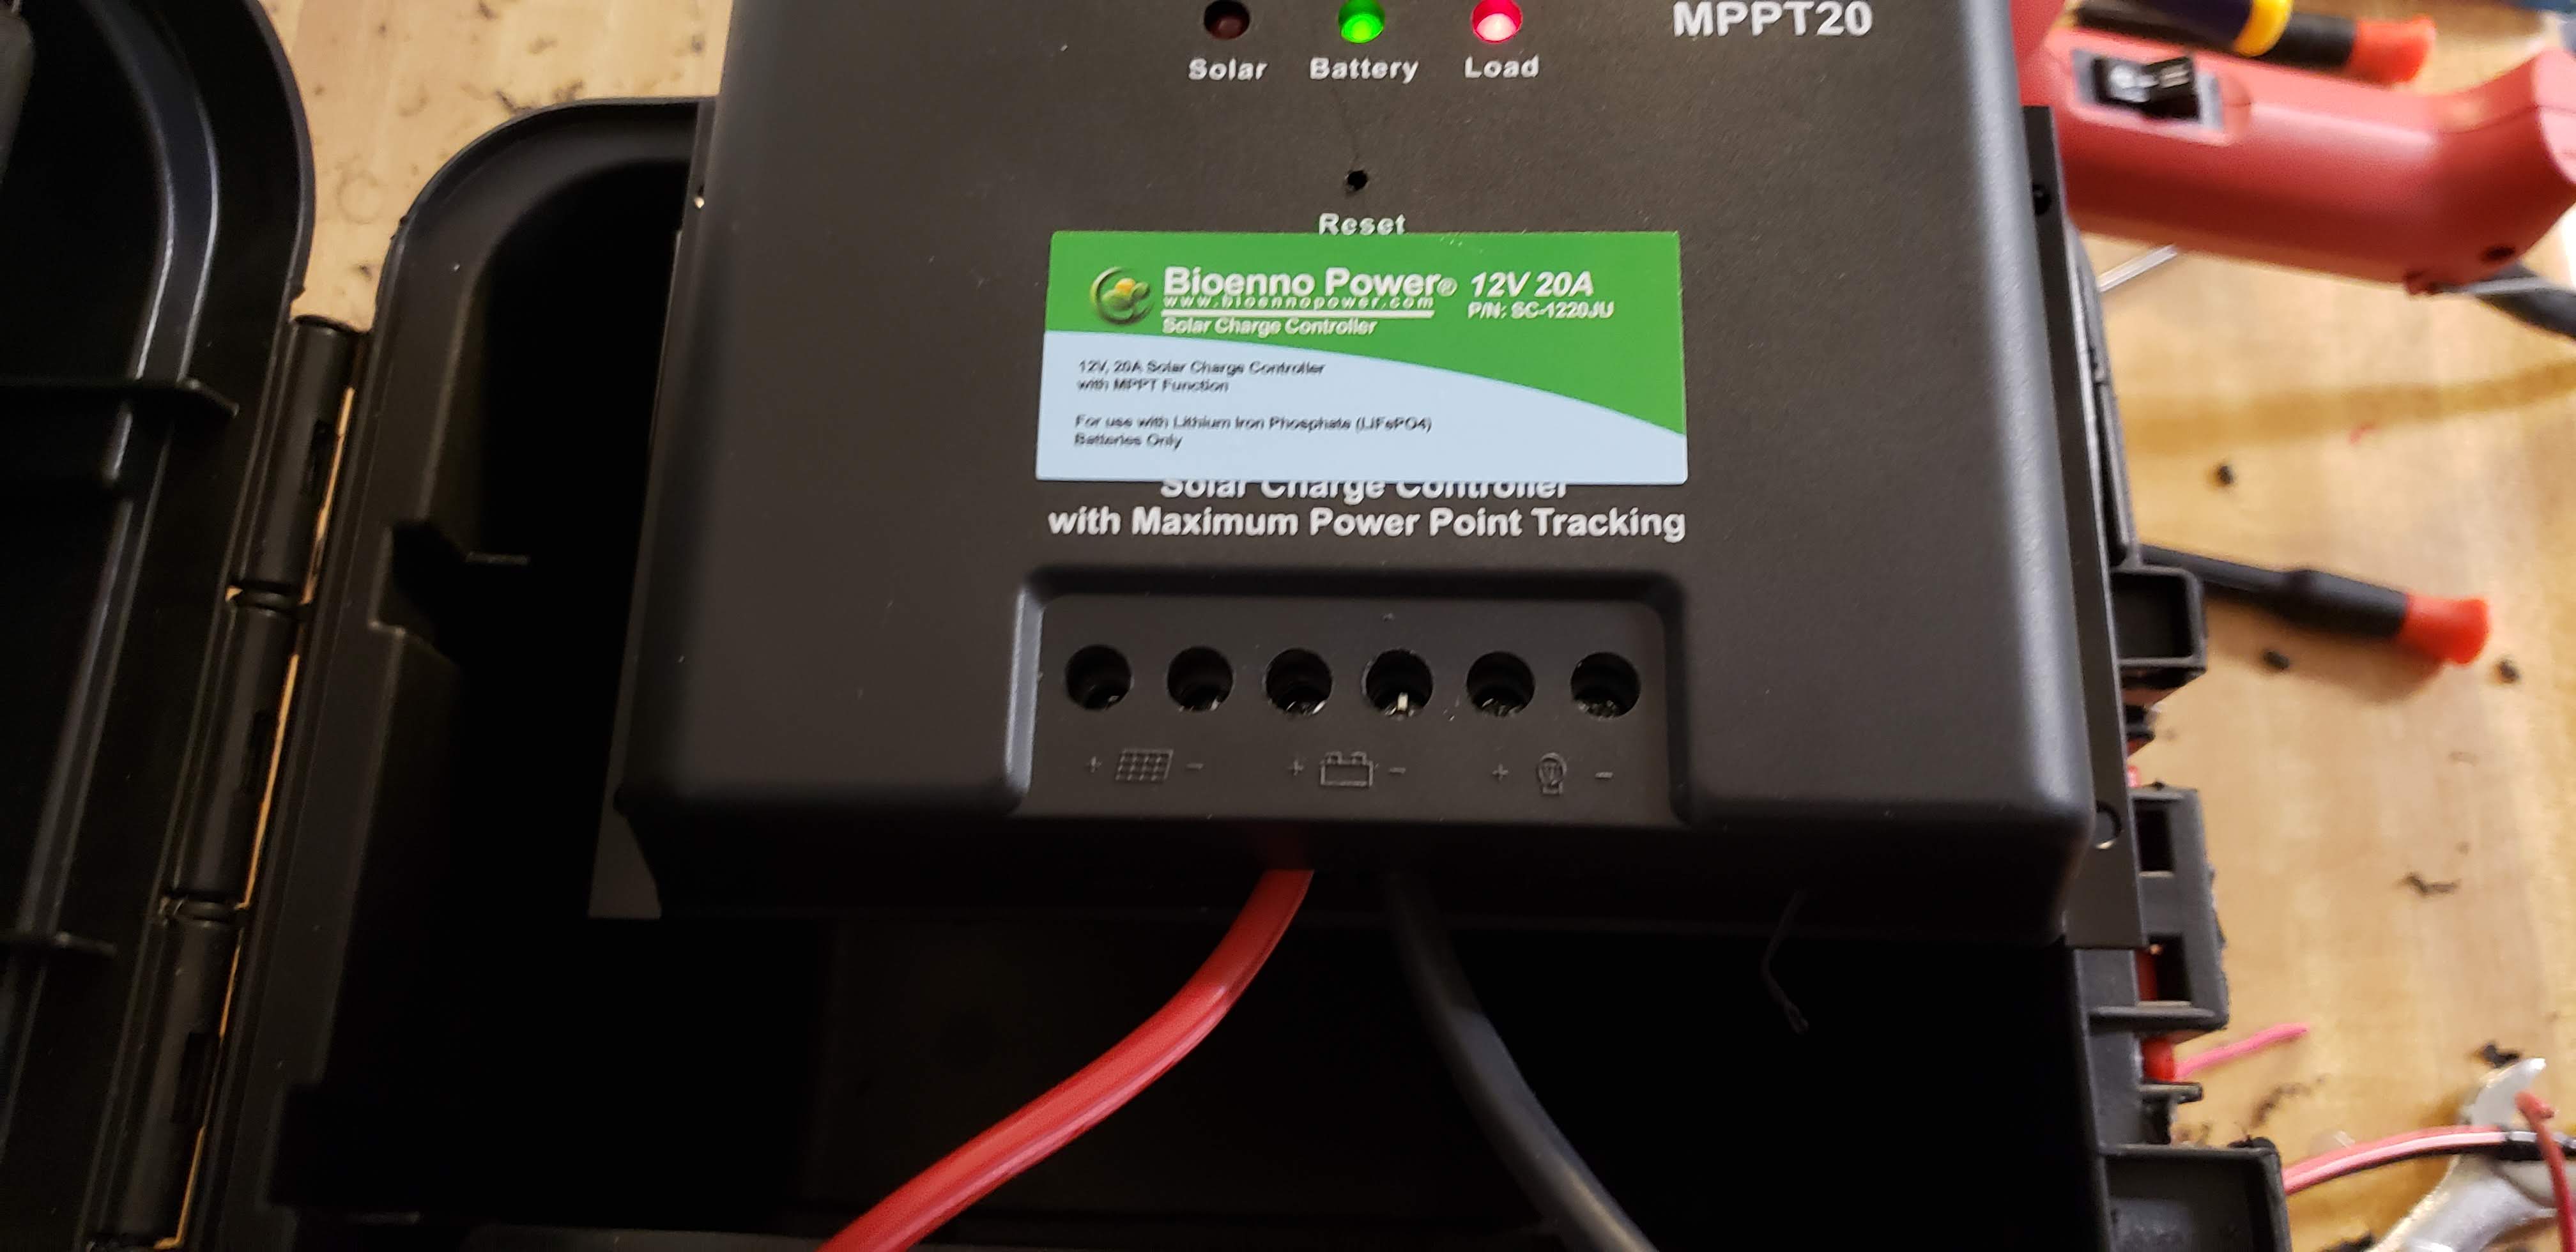
This Christmas I bought a 28 watt solar panel and MPPT charge controller from Bioenno. I haven’t had much time to use it until recently with the weather getting warmer. I’ve been able to use this with my 7.5 amp hour battery which will power the KX2 for quite some time. I’ve also been watching a lot of videos on YouTube about portable power boxes and I thought it would be nice to have something a little heftier for car camping or portable activations that I wasn’t carry gear very far.
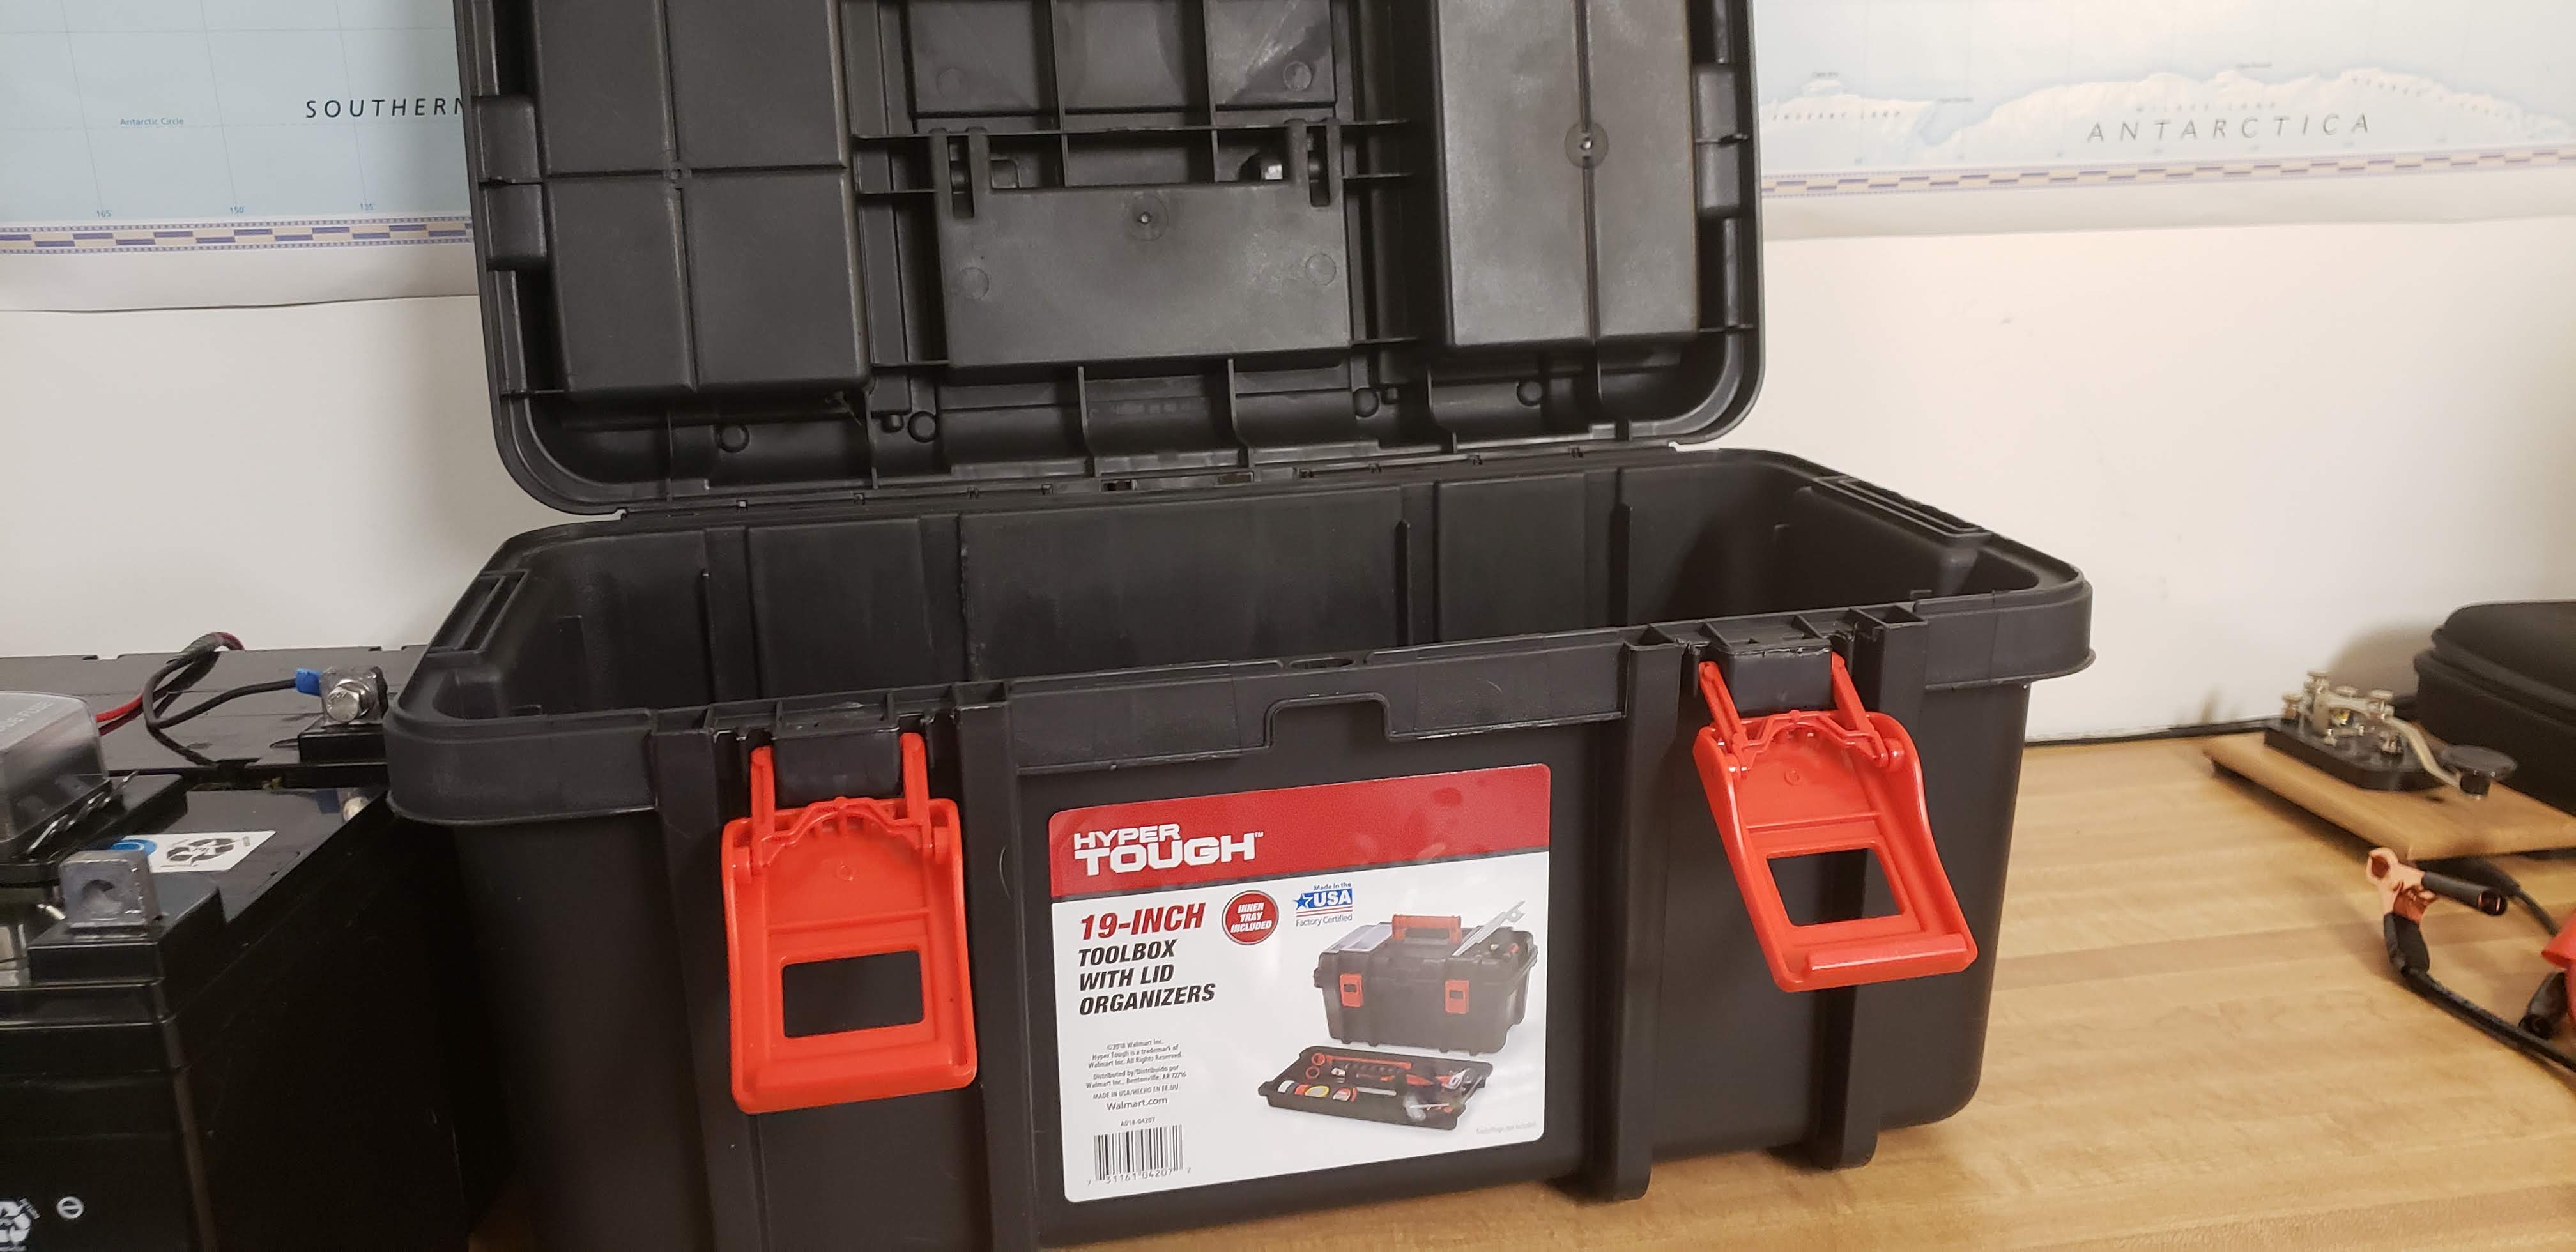
This past week I finally got to work on it. I started with a HyperTough 19 inch tool box from WalMart for the battery box. I have two 12-volt, 35 amp hour AGM batteries from Harbor Freight that fit in the box nicely with a little extra room so that everything can be inside the box.
I wired the two batteries in parallel to give me 12-volts and 70 amp hours. I read that the AMG batteries do not emit any hydrogen gas so I did not put any vents in the box (yet).
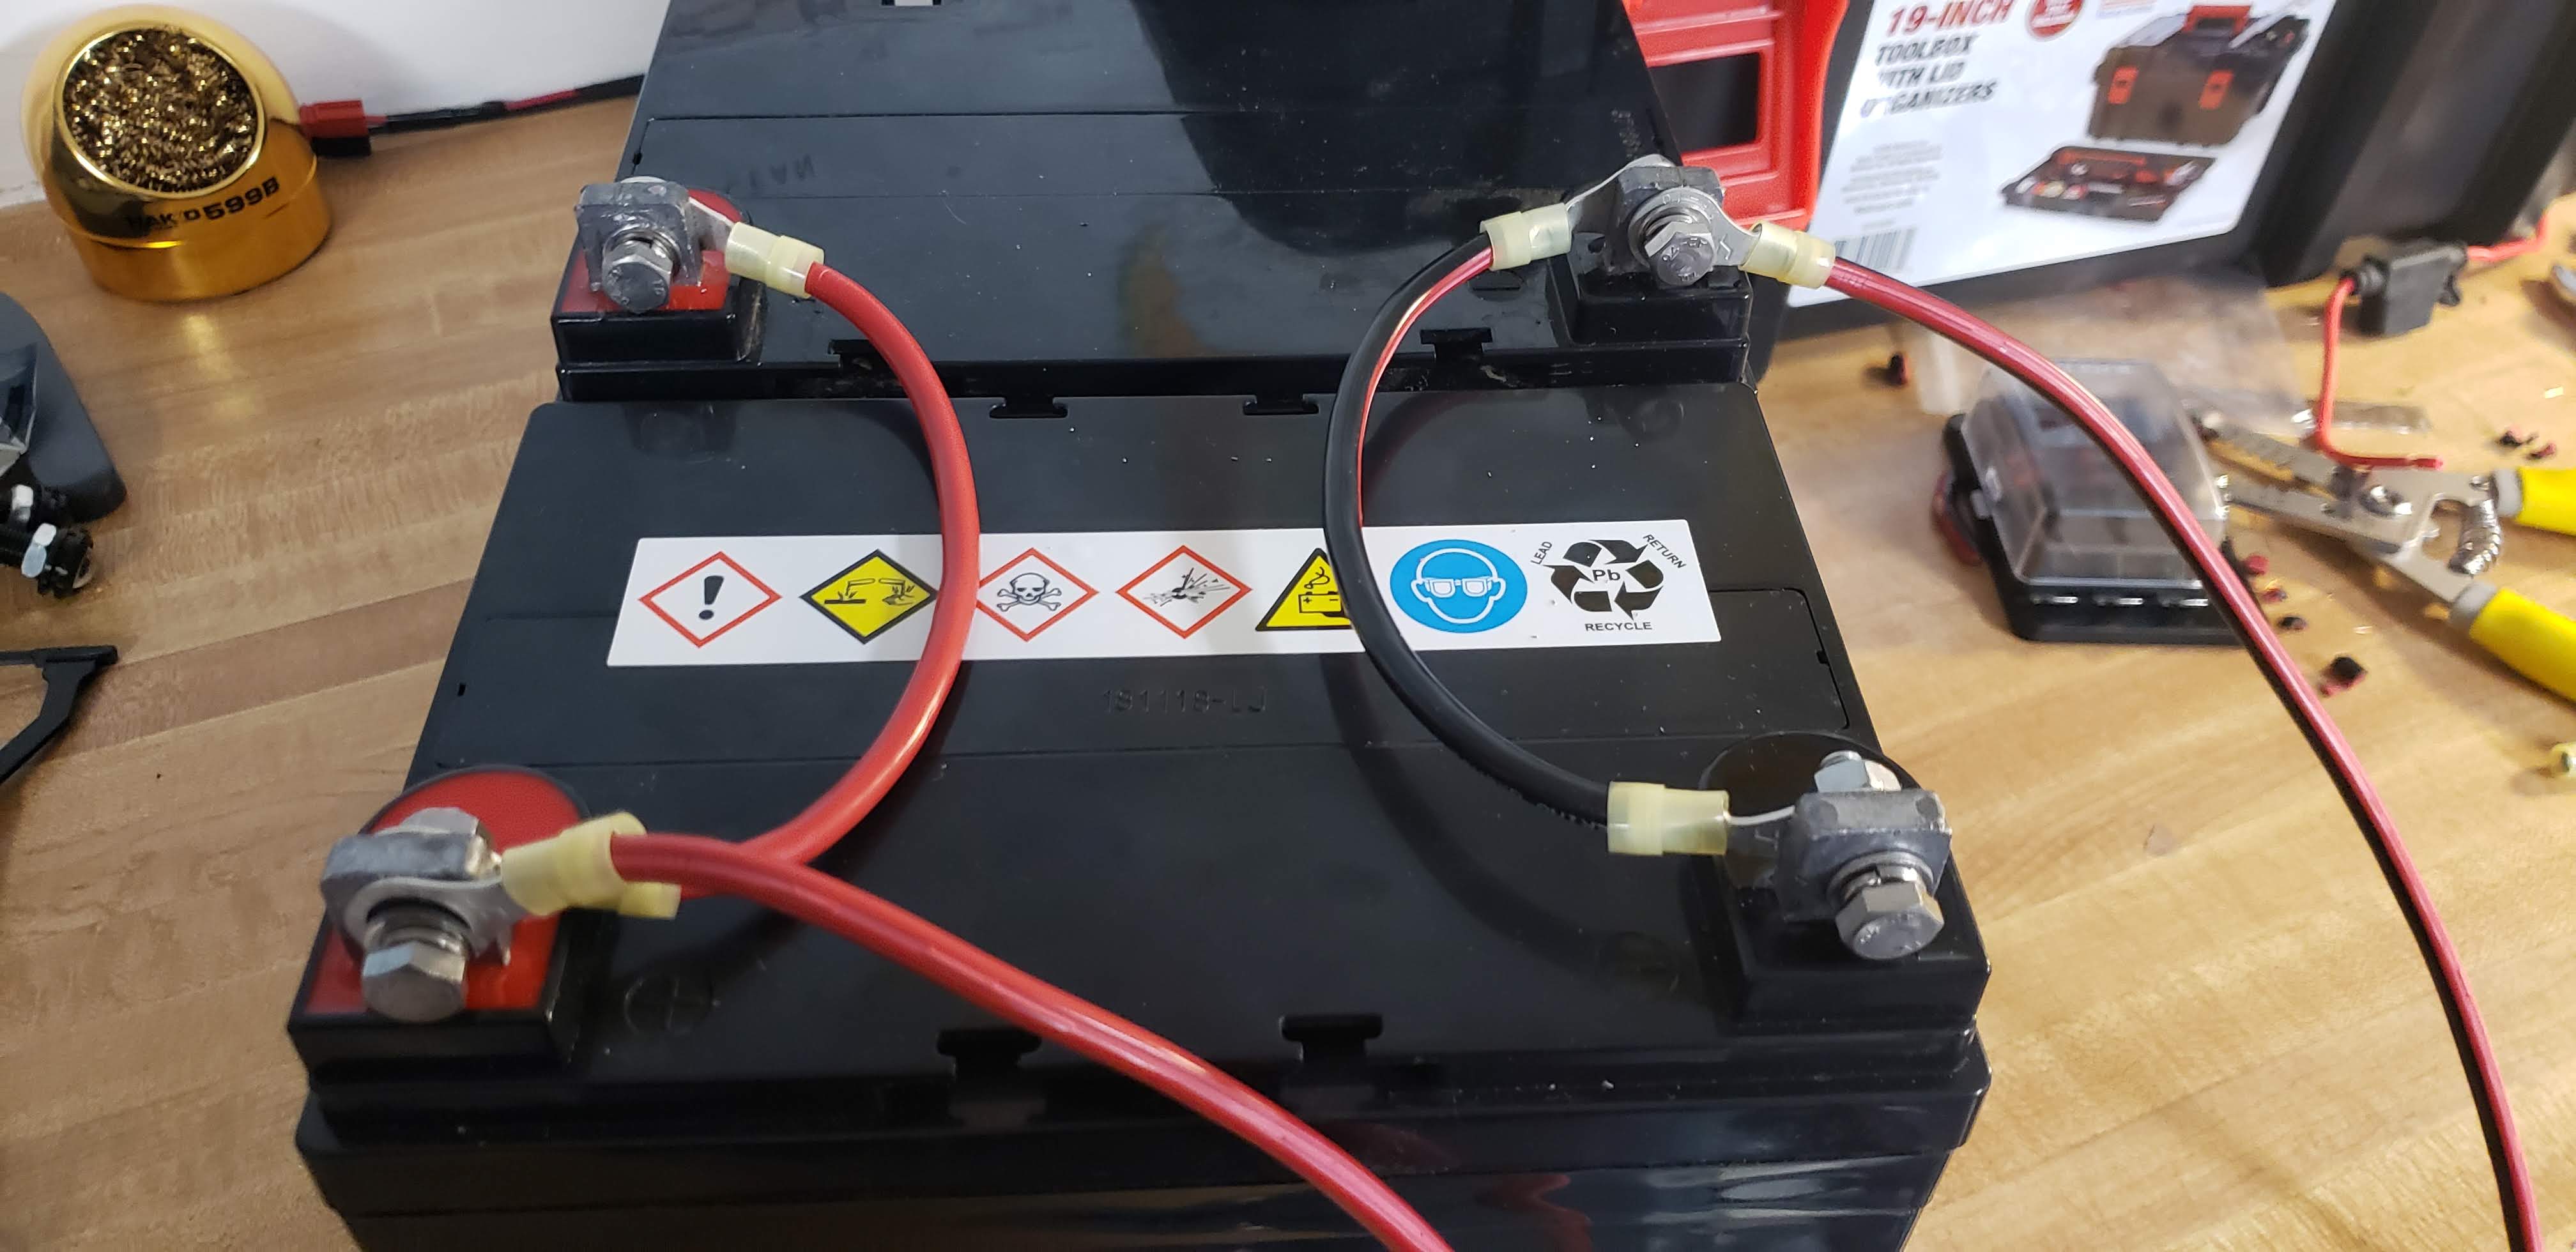
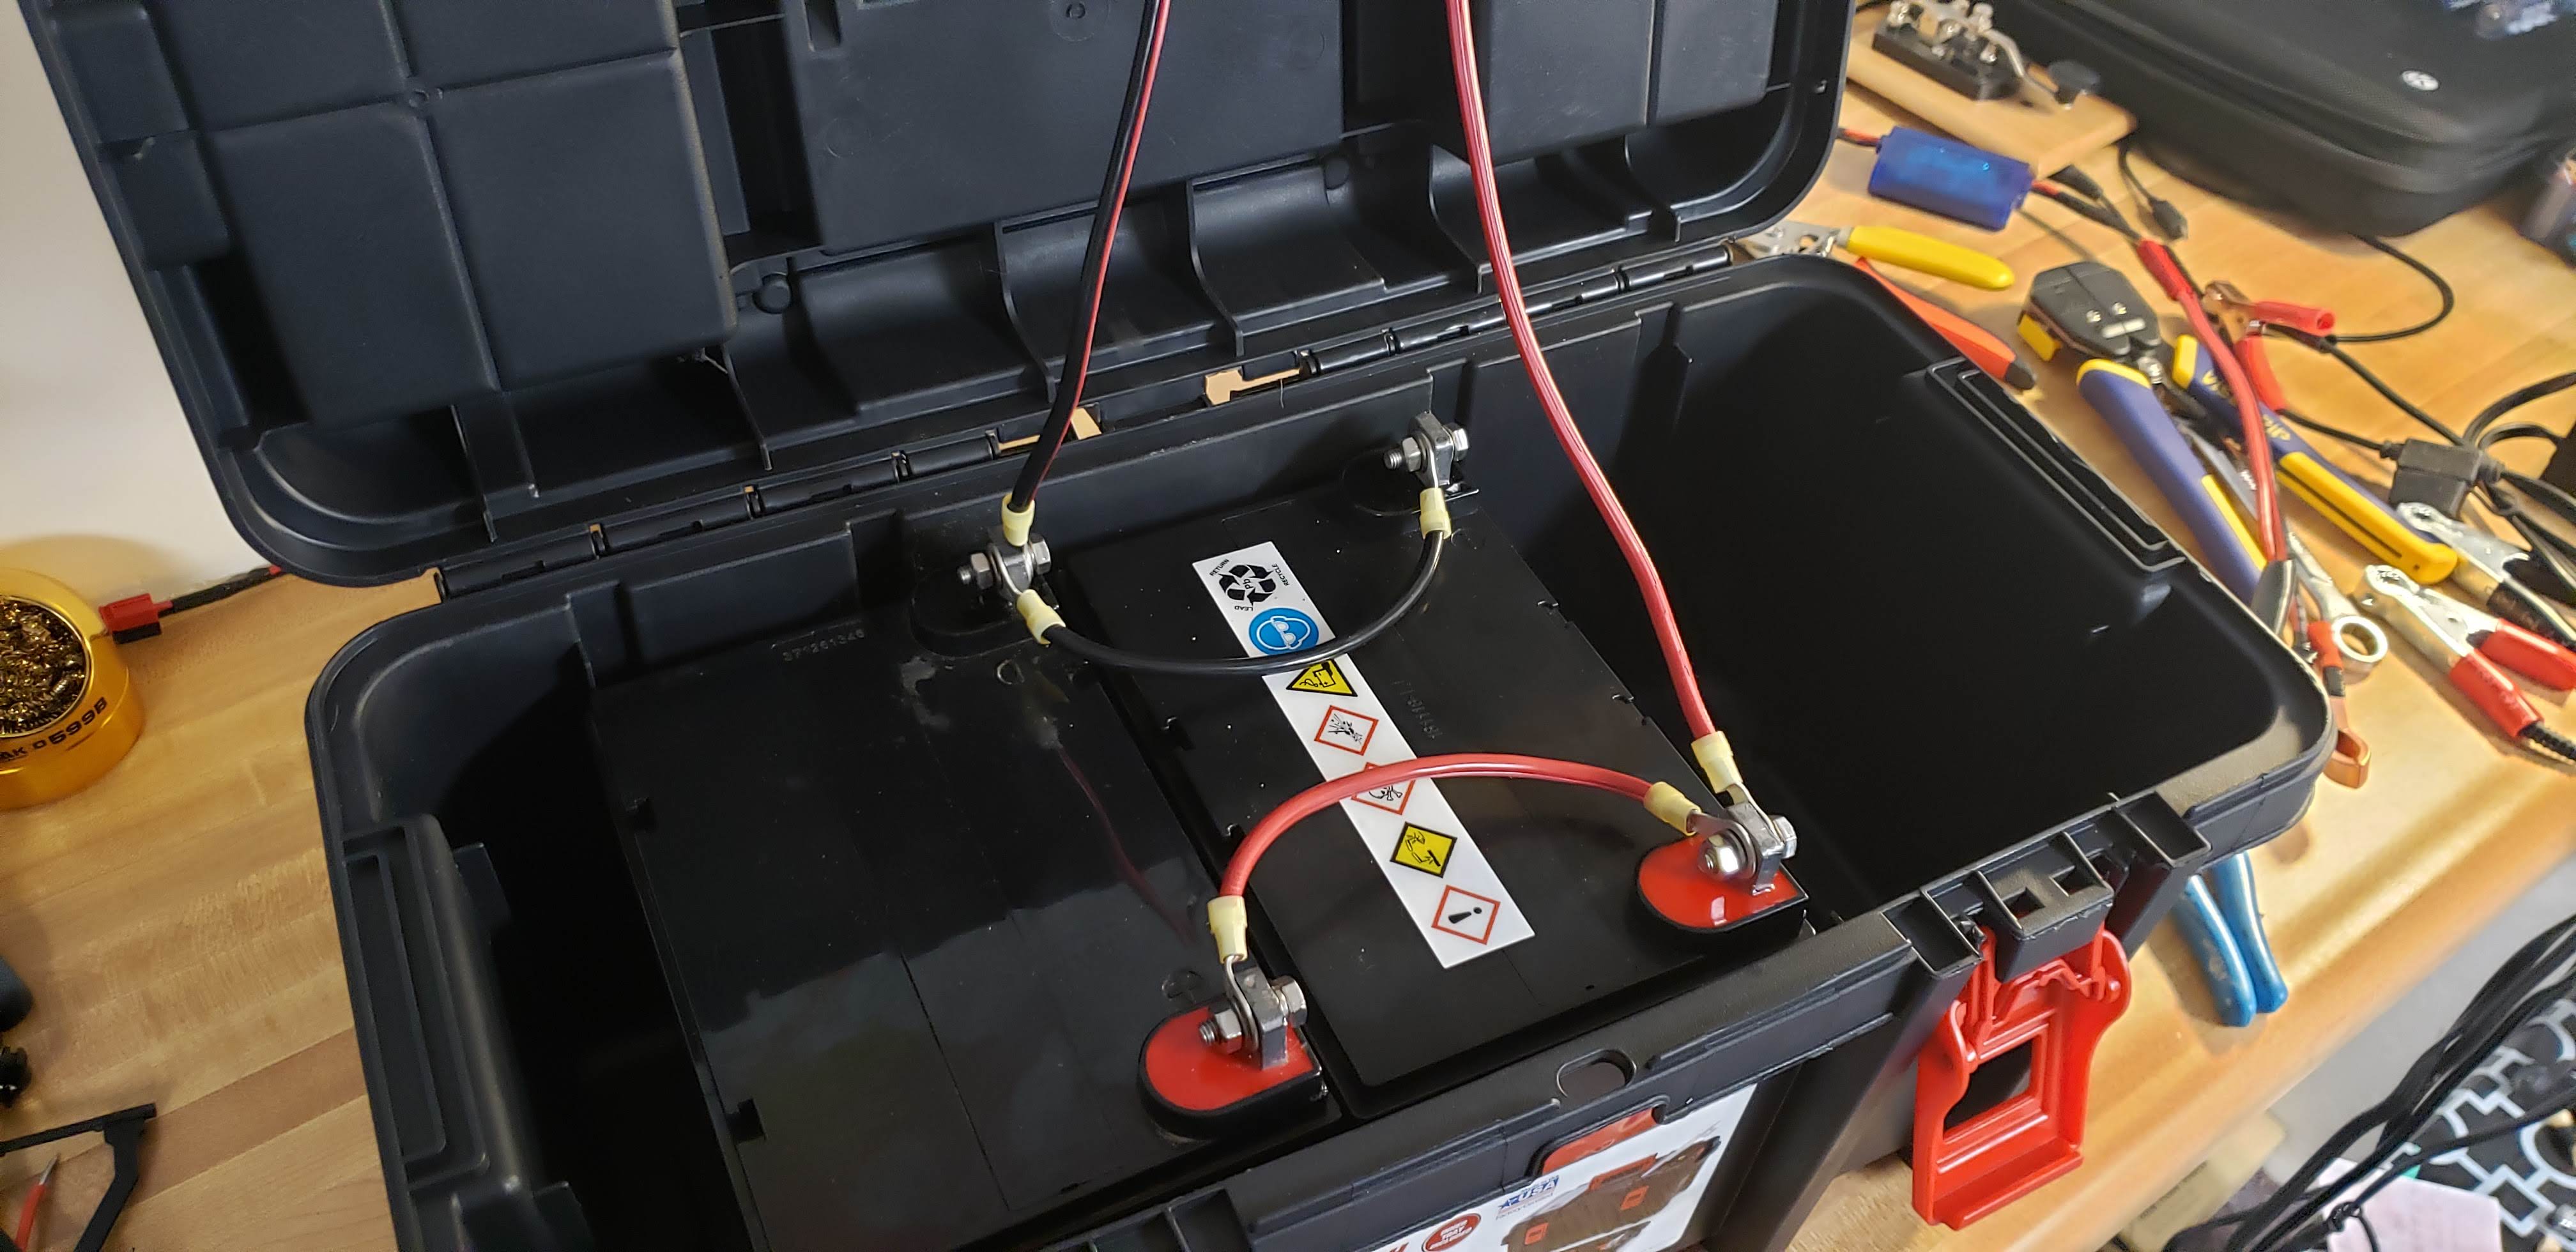
Once the batteries were wired in parallel they fit perfectly in the box! I originally had planned on putting a small computer fan on one end to use as an exhaust and put in venting holes as well, but did not do this after reading more about the AGM batteries.
I took ideas from a bunch of different YouTube videos that I watched to try to fit what I wanted for the box. I started laying out where I wanted everything on the box and started drilling holes.
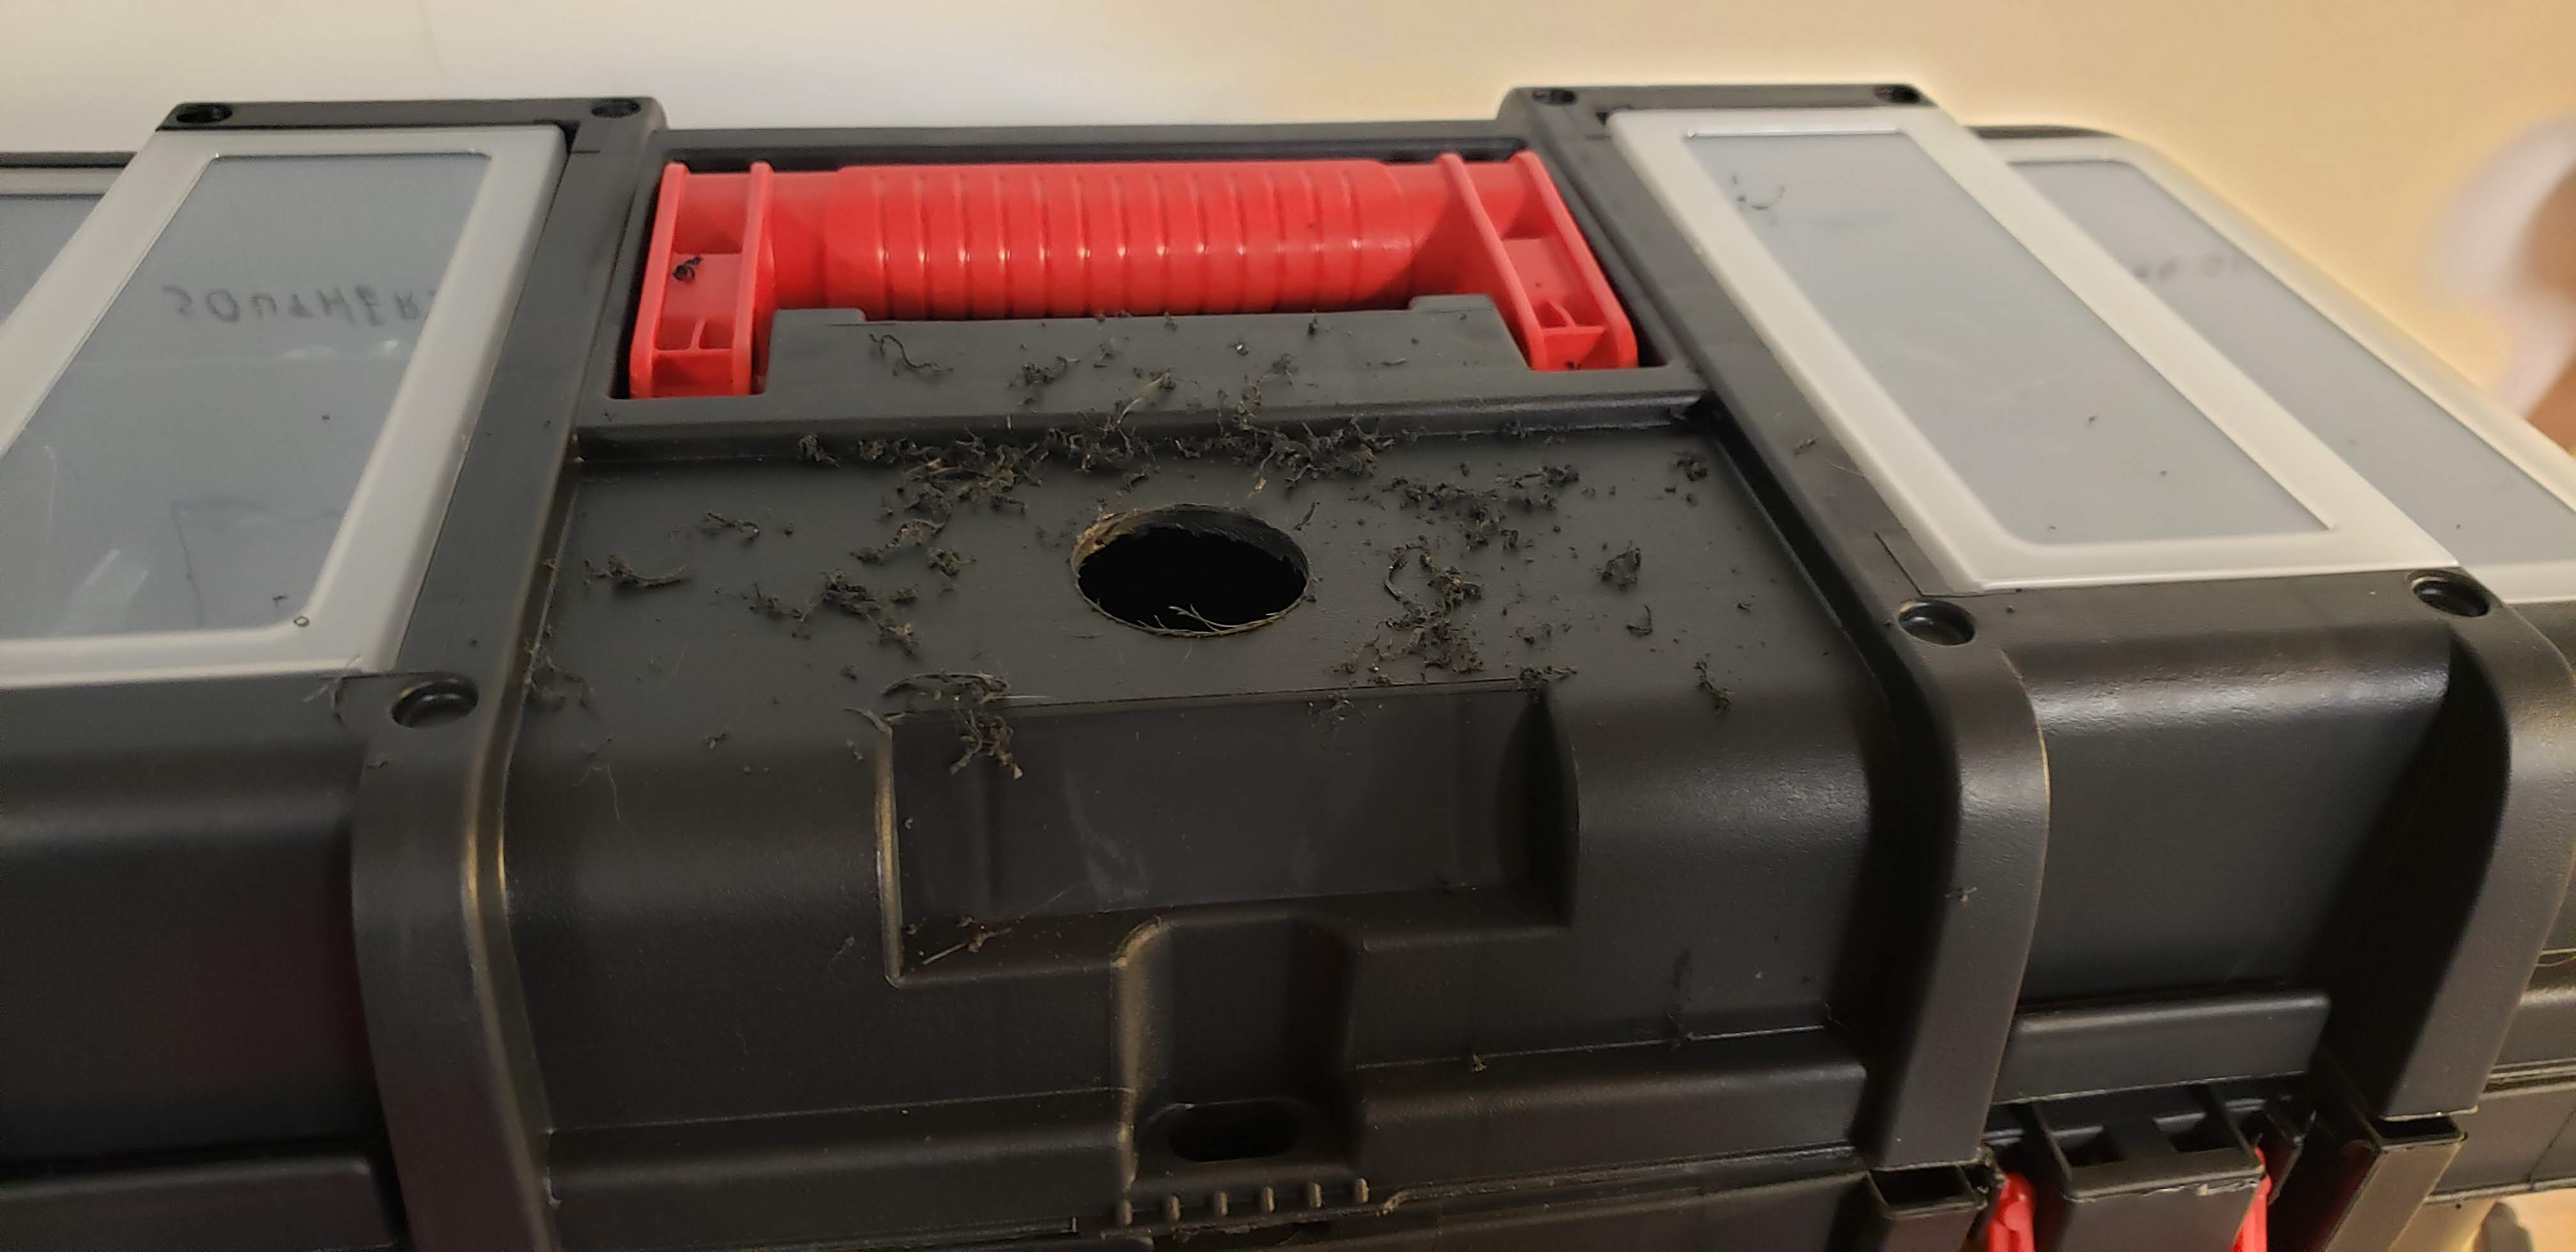
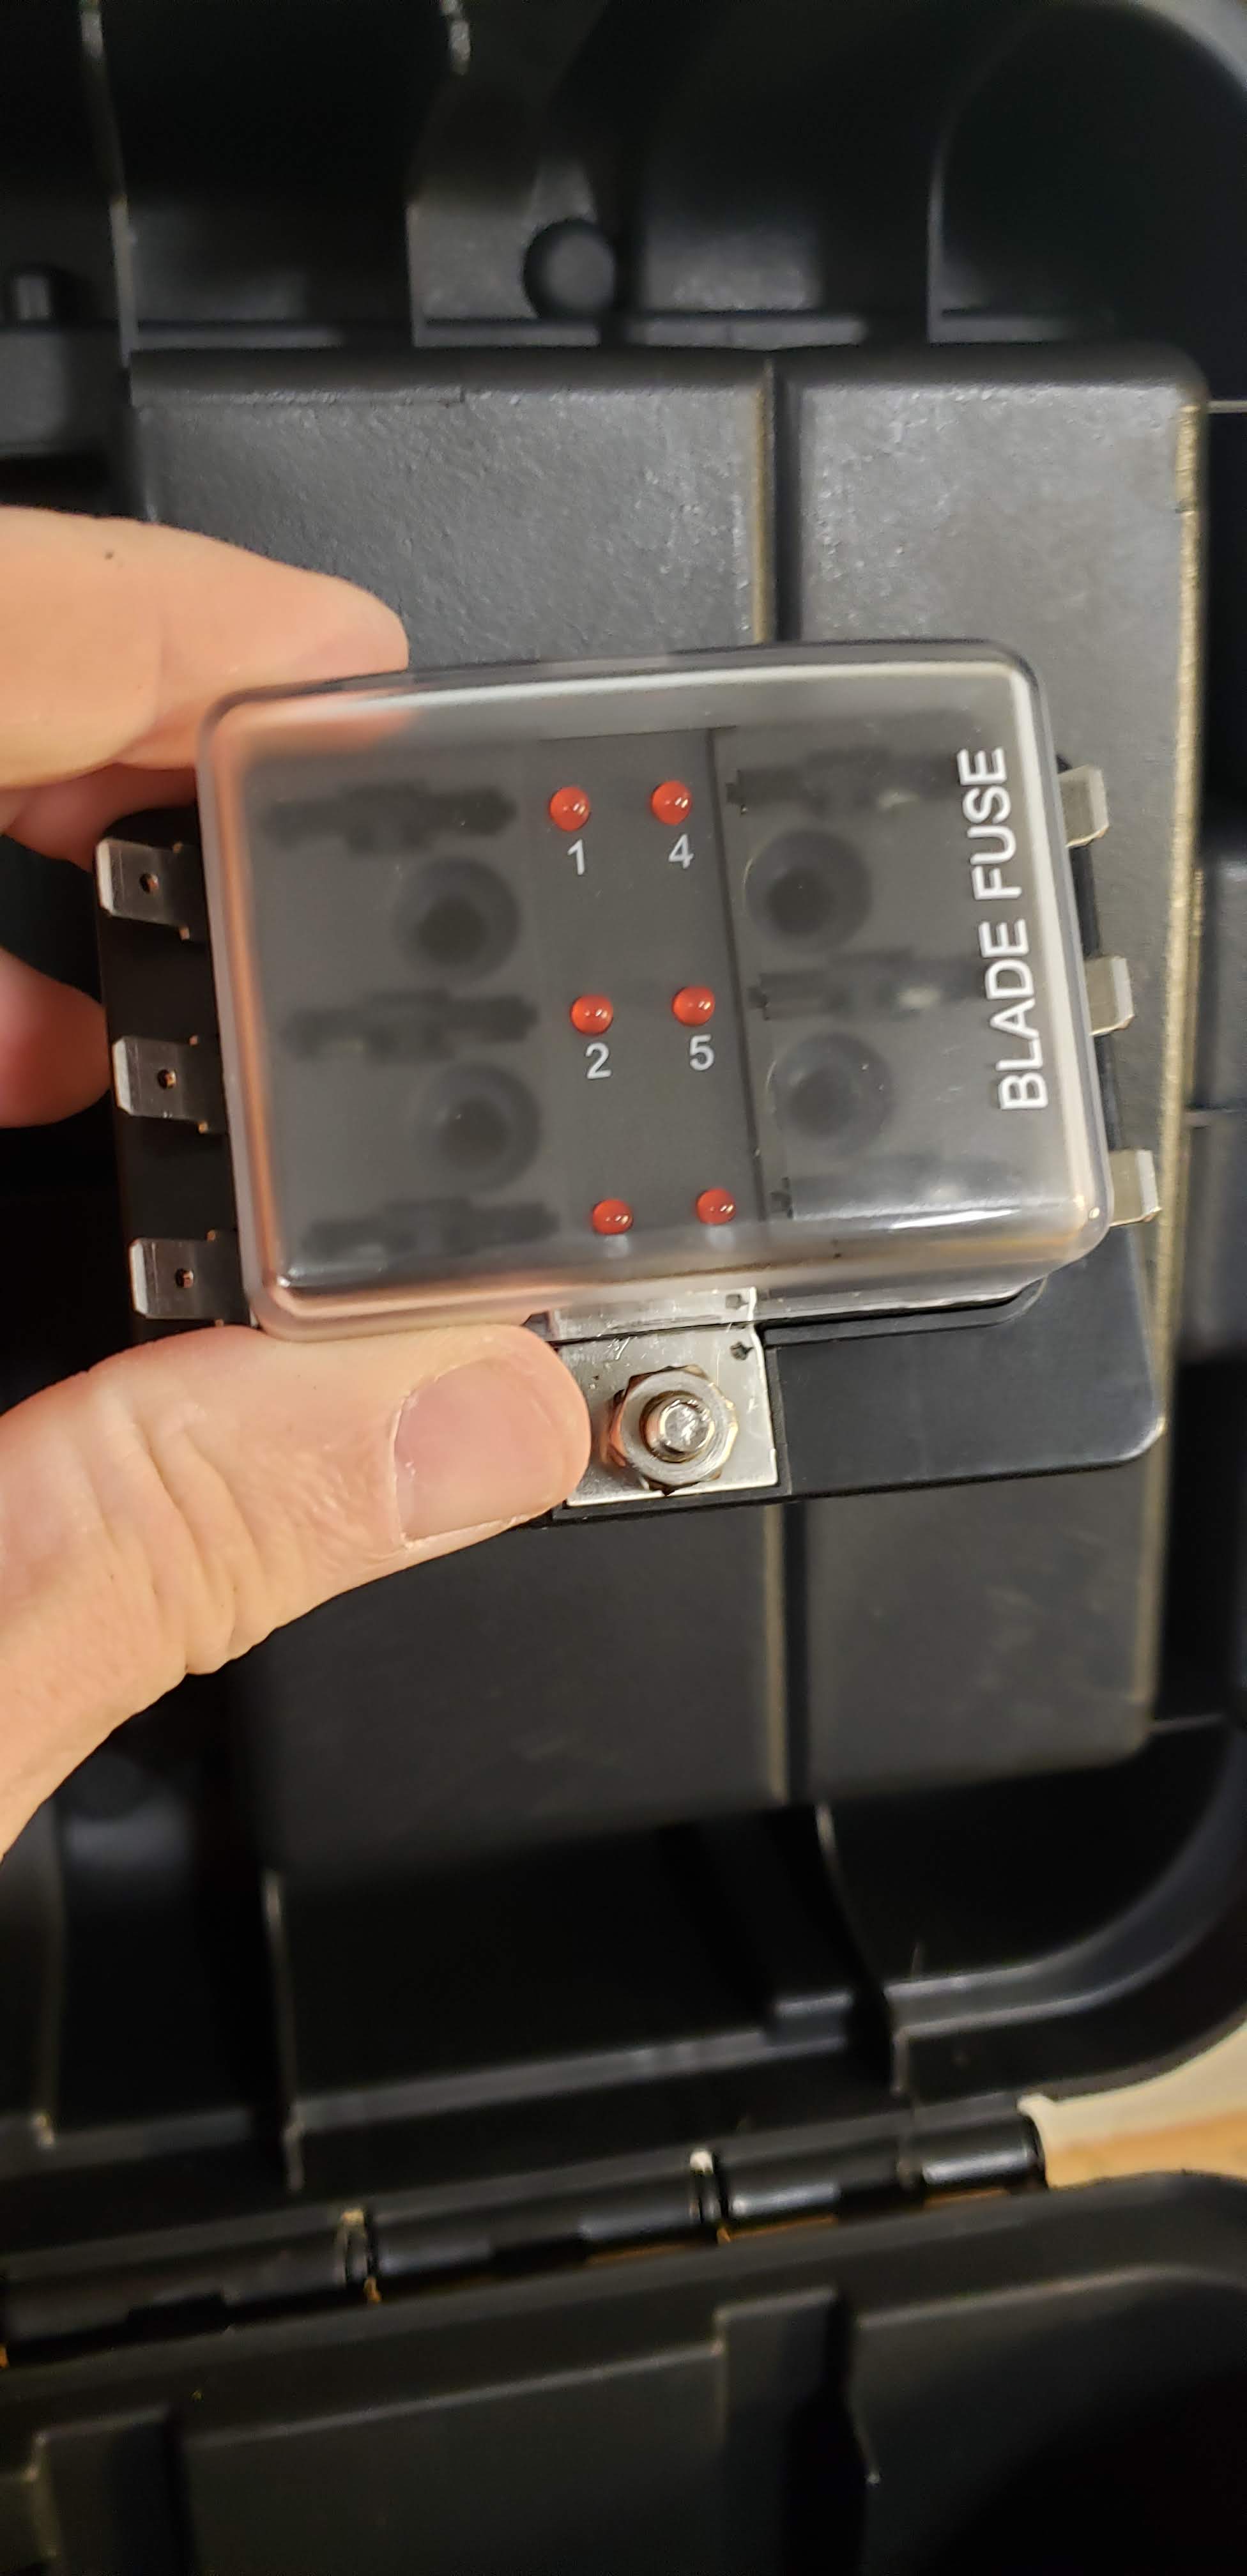
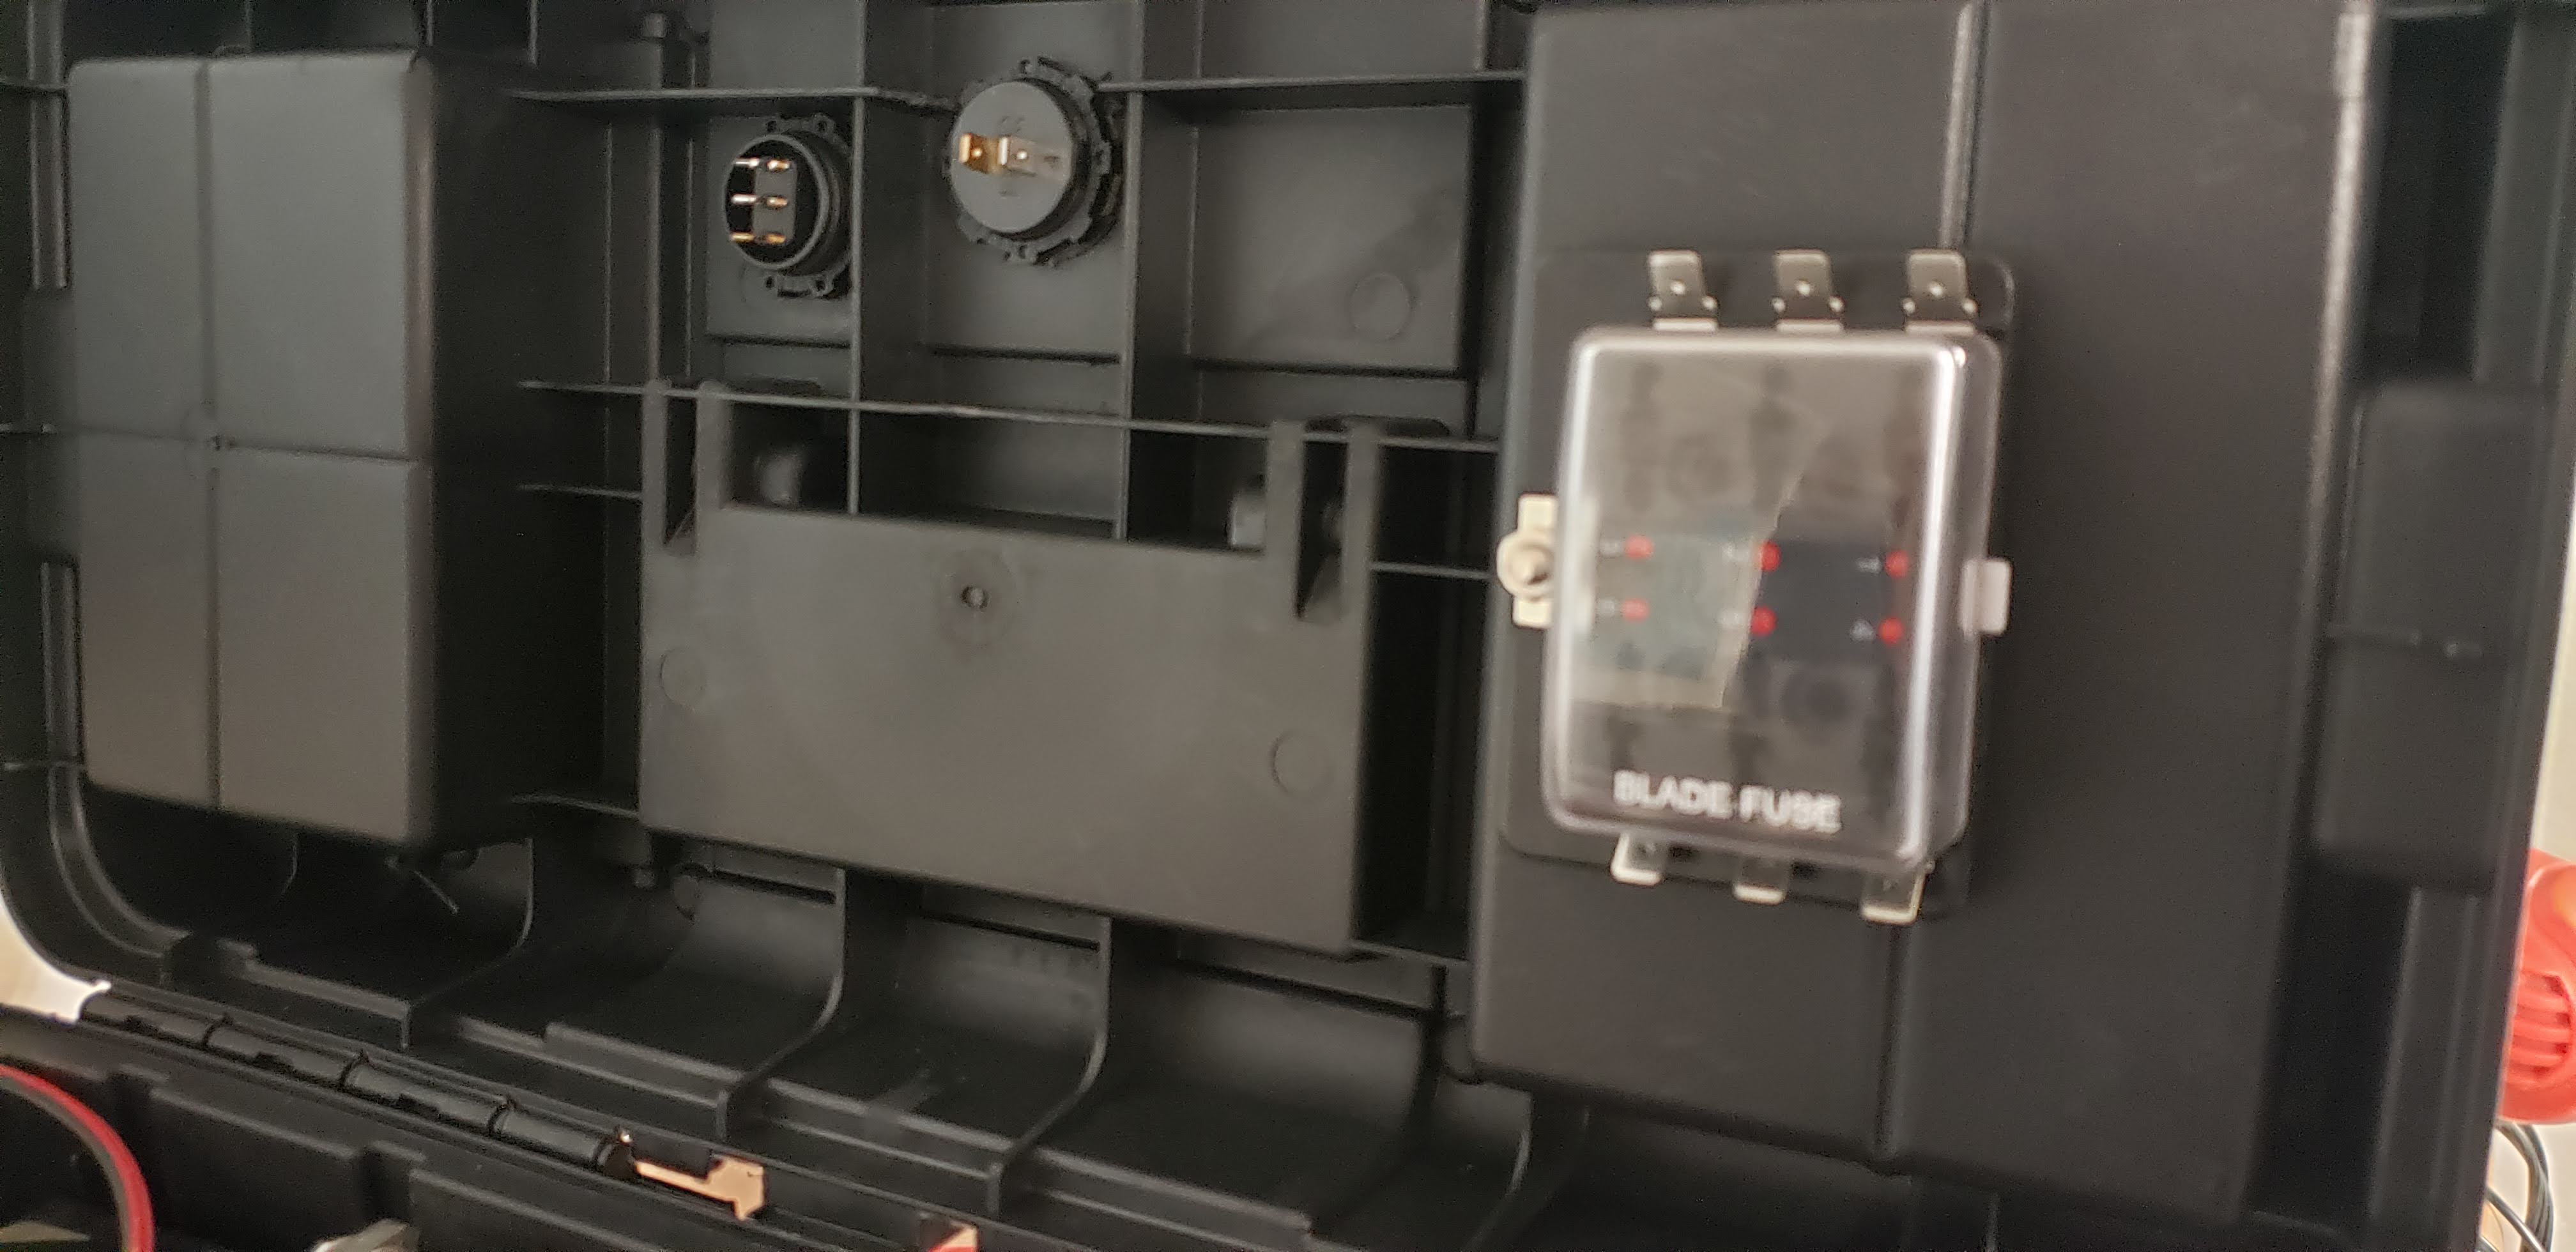
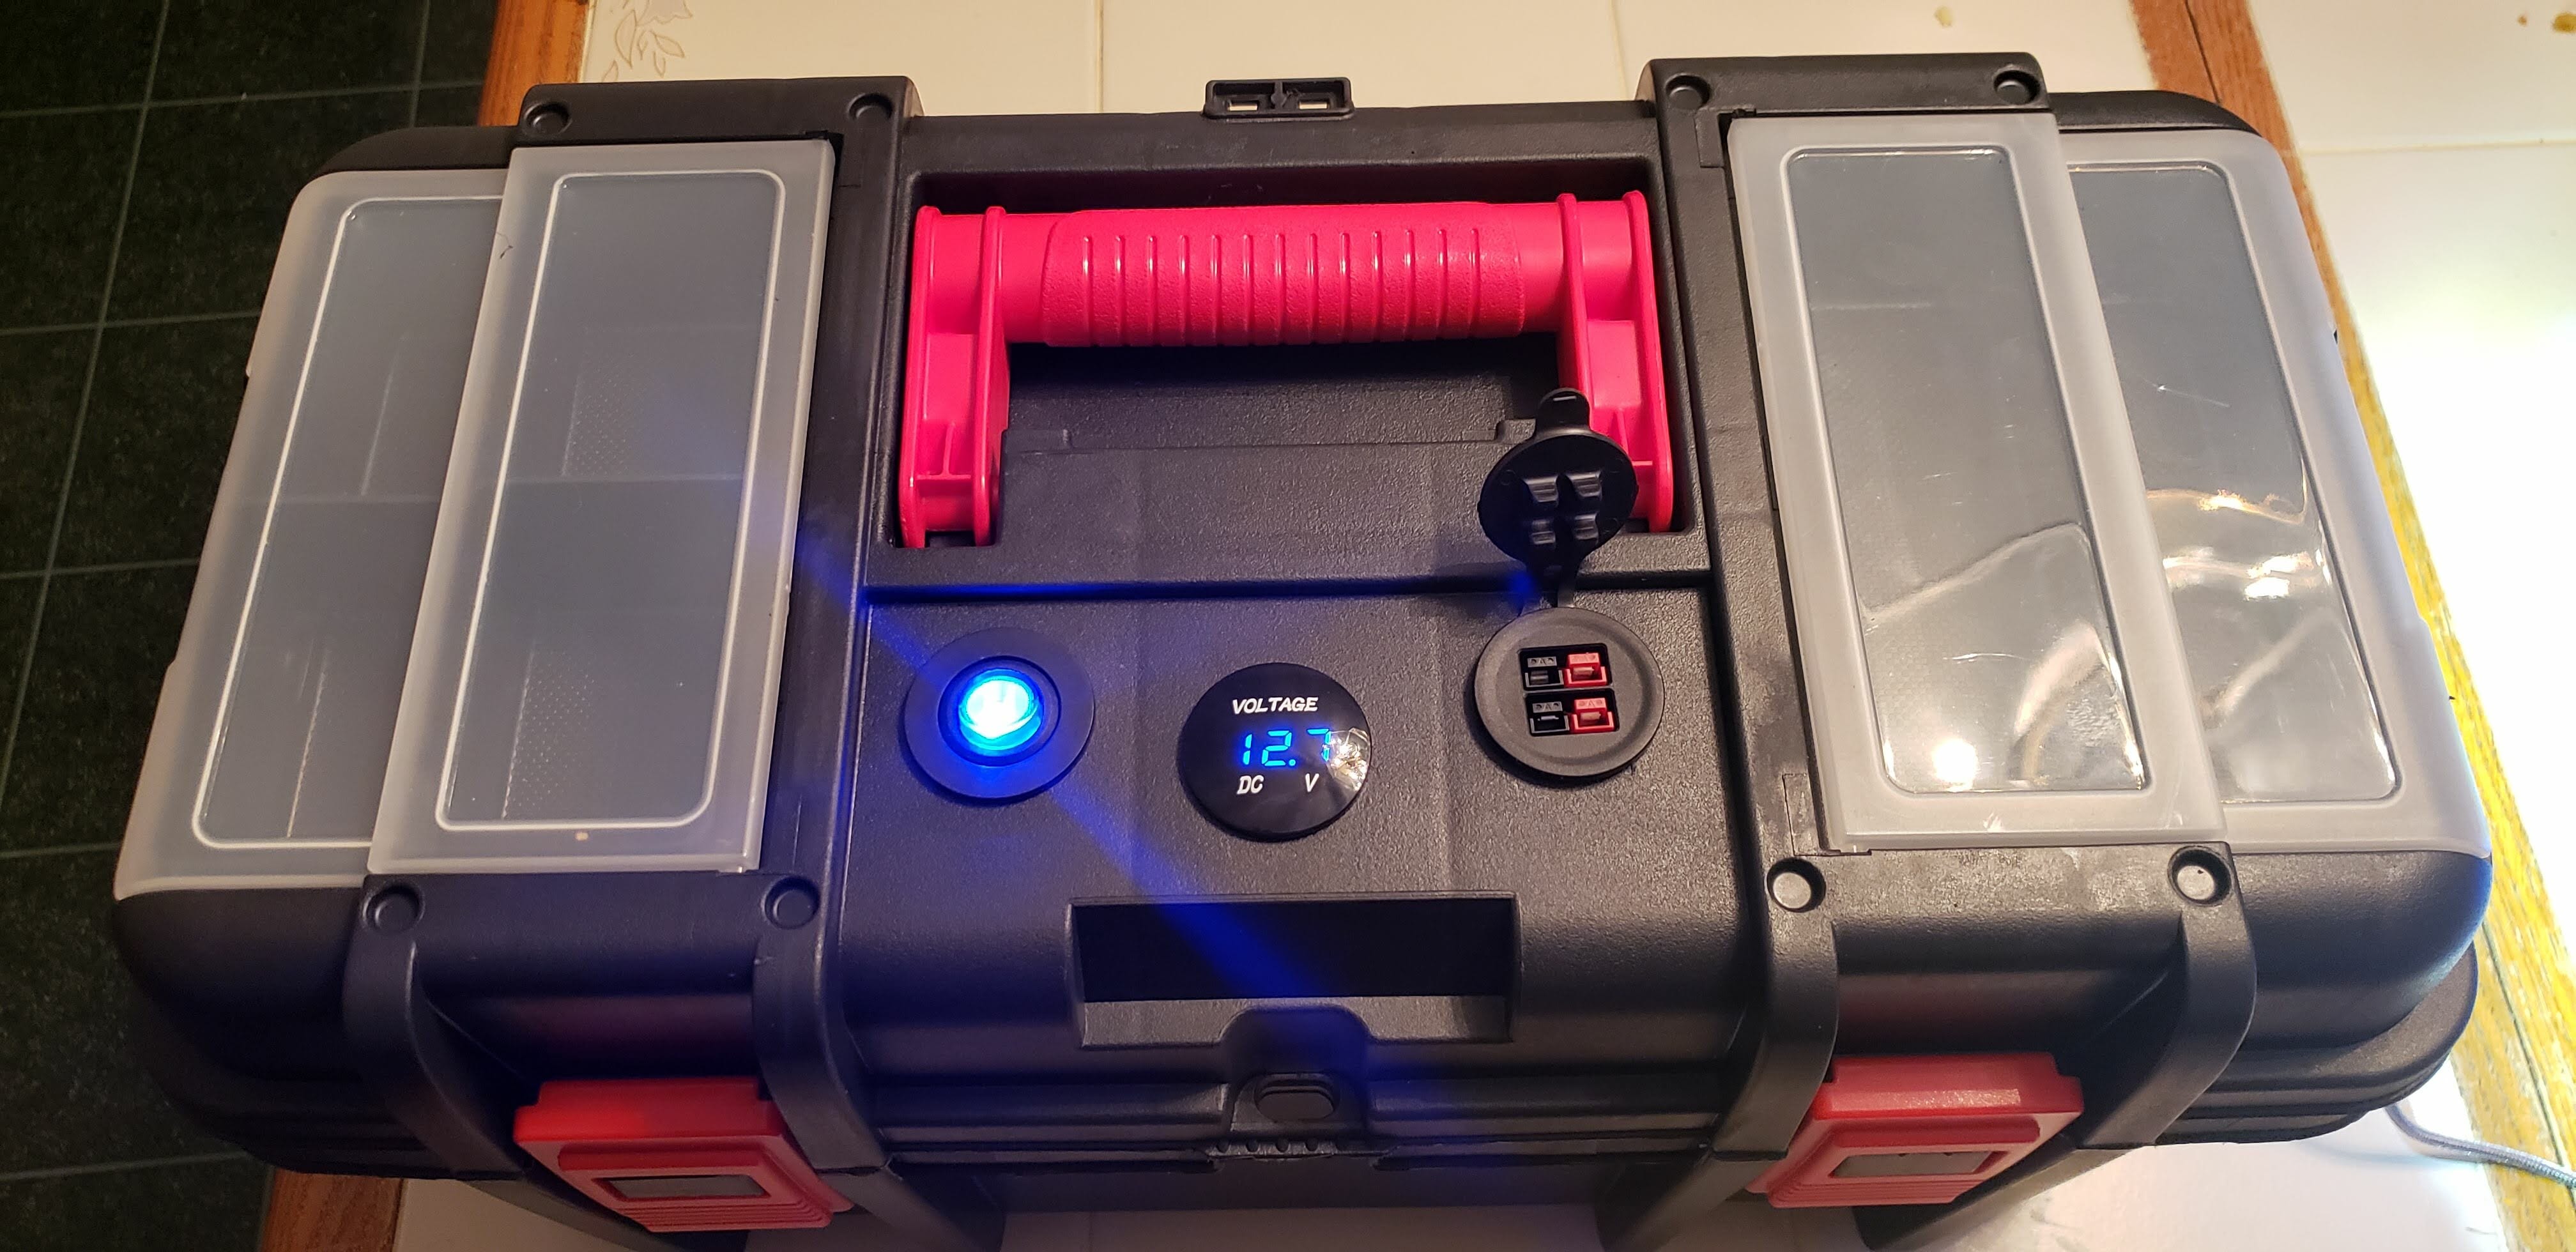
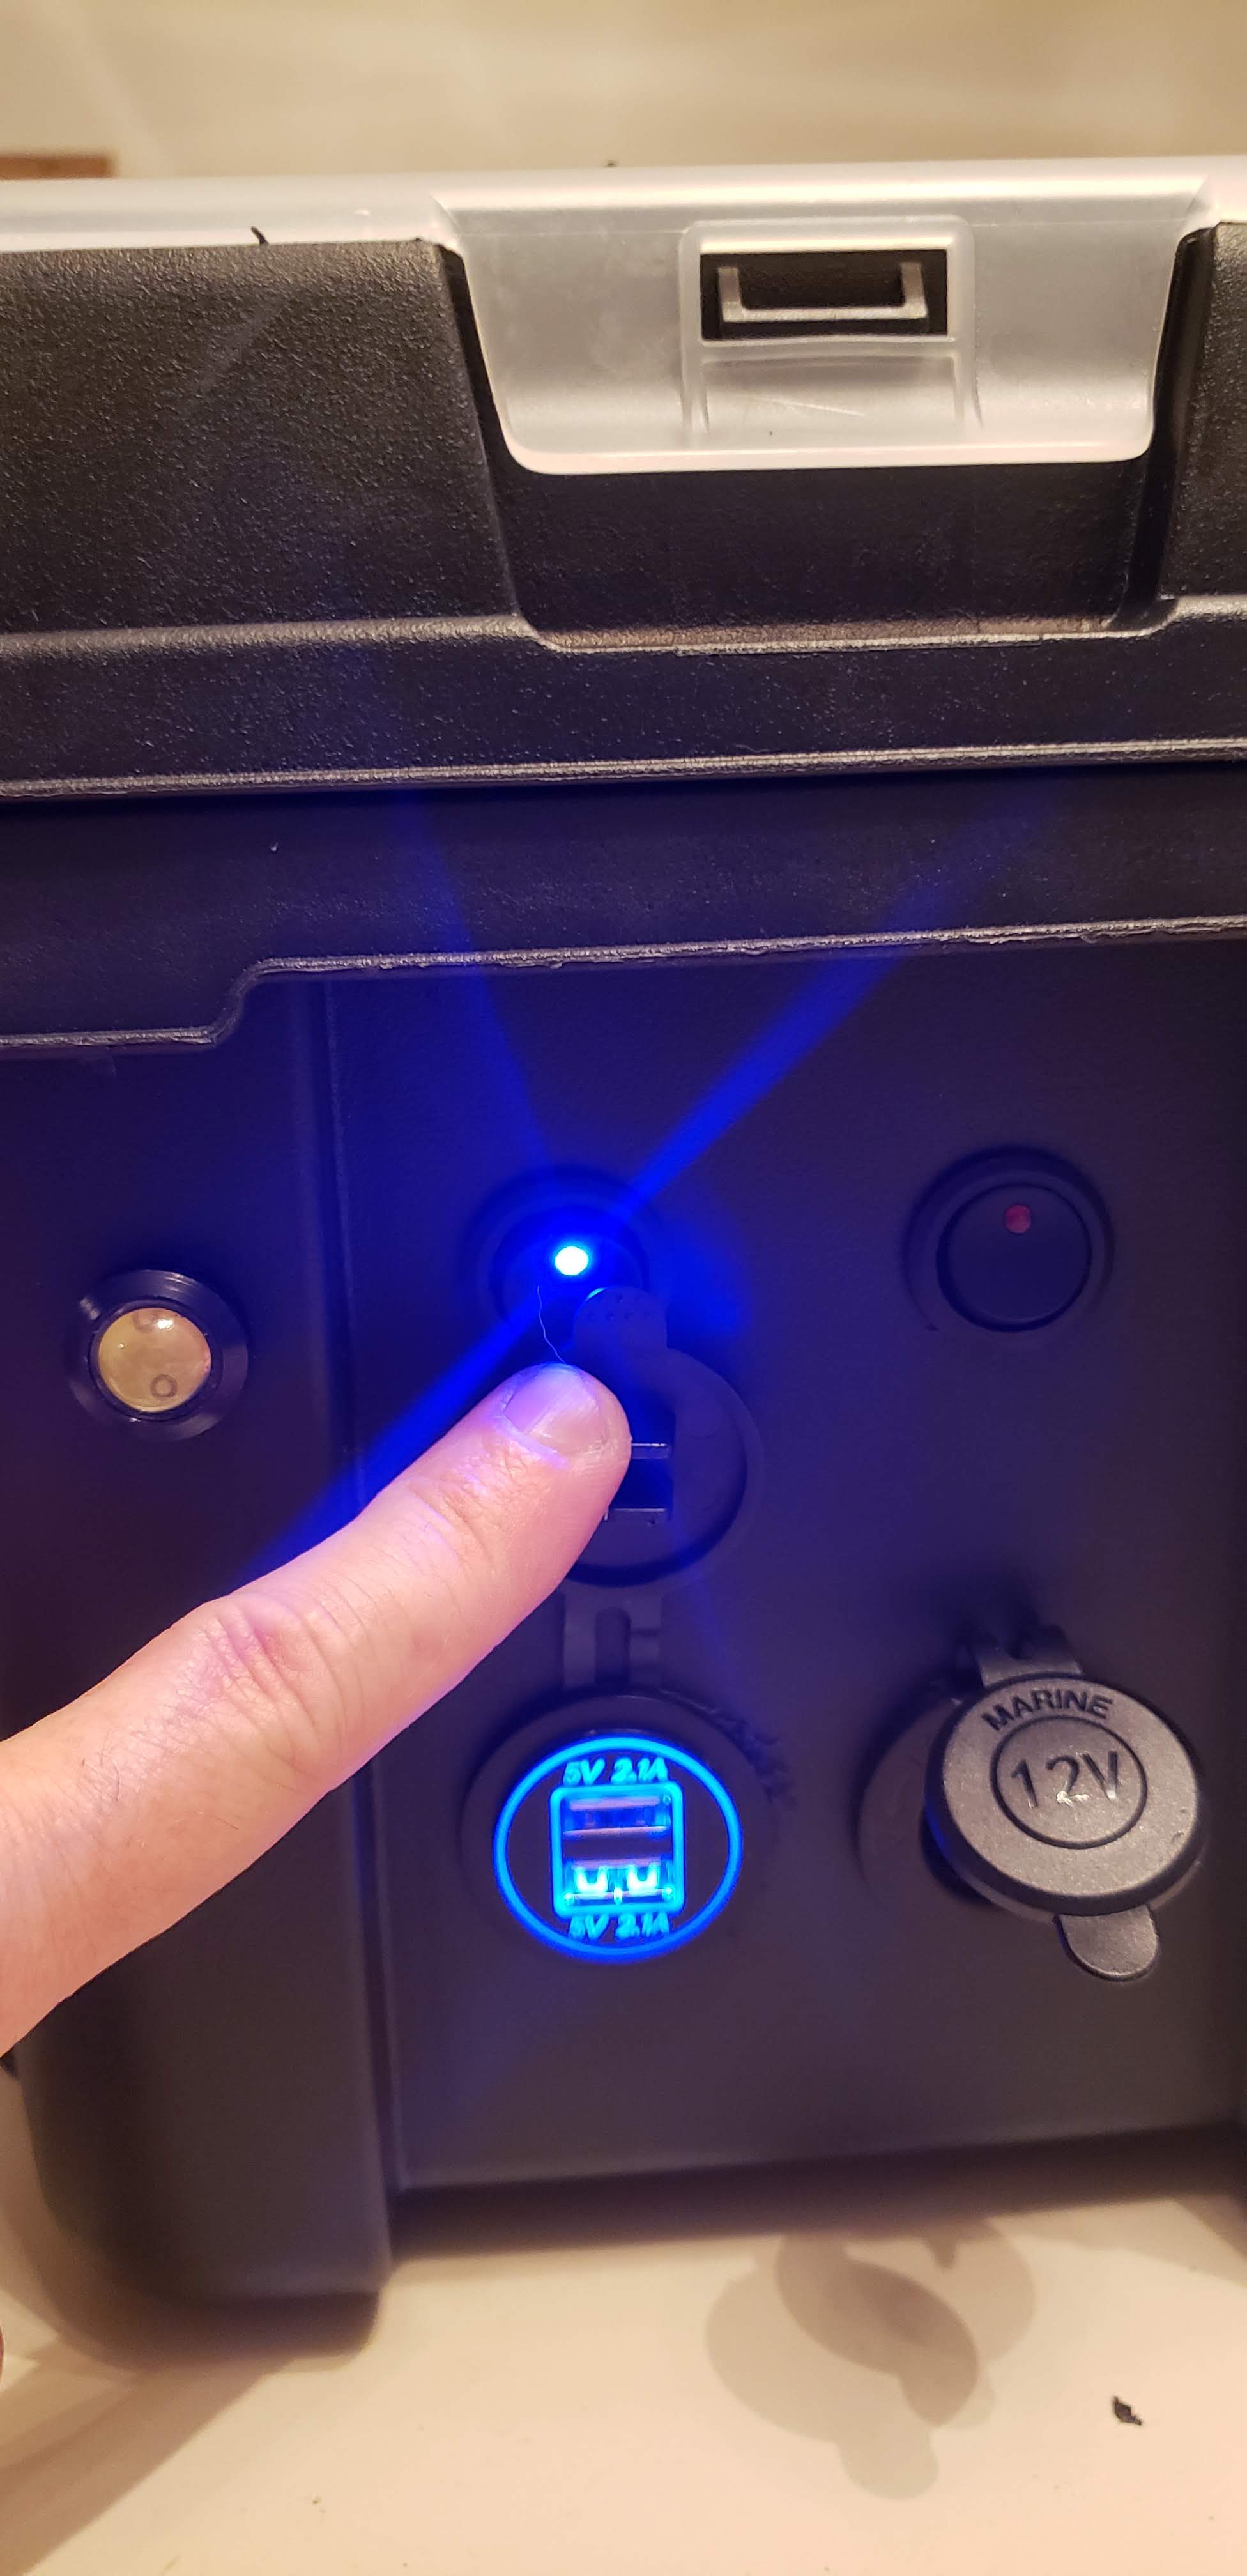
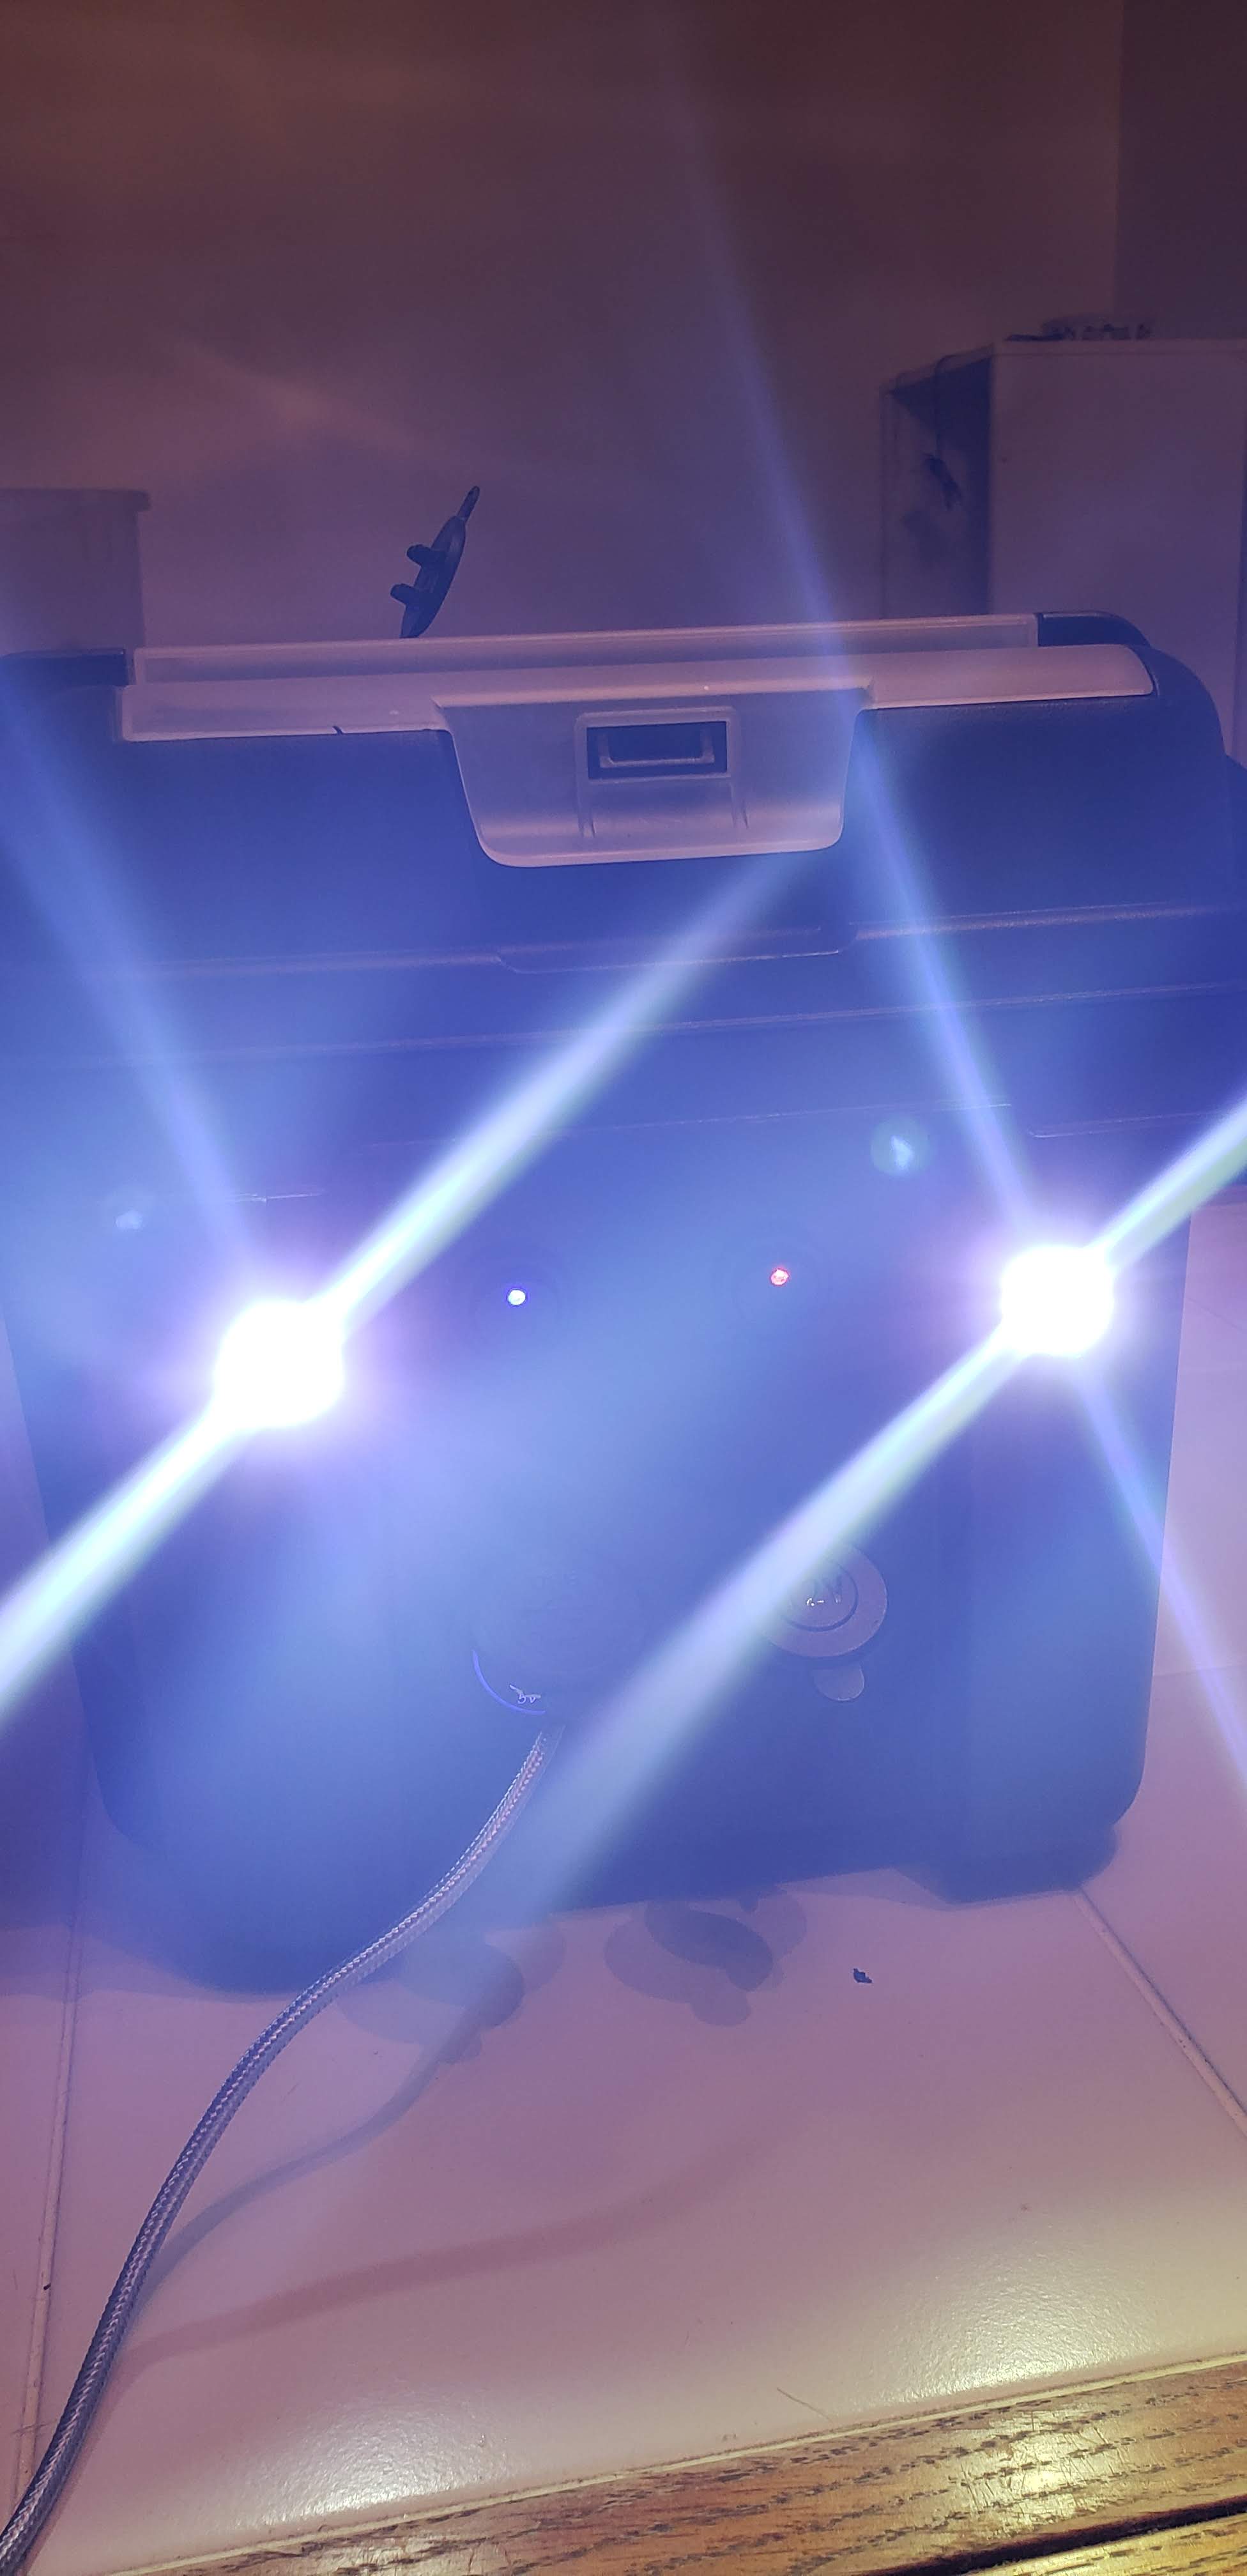
The components I have on the box are a volt meter in the center of the lid along with a master switch for power and a 2 port power pole outlet to plug in a radio. On the front side of the box I have two small switched LED lights, a port with two 2.1 amp USB chargers and a cigarette lighter adapter. All of the power runs through a fuse box. I used Velcro to attach the fuse box to the inside of the lid of the box.
Once all the components were drilled and put in place I put the Bioenno Solar Charge Contoller in the box. I attached this with Velcro to the battery so that I can easily remove it when I want to go out for lighter portable activations.
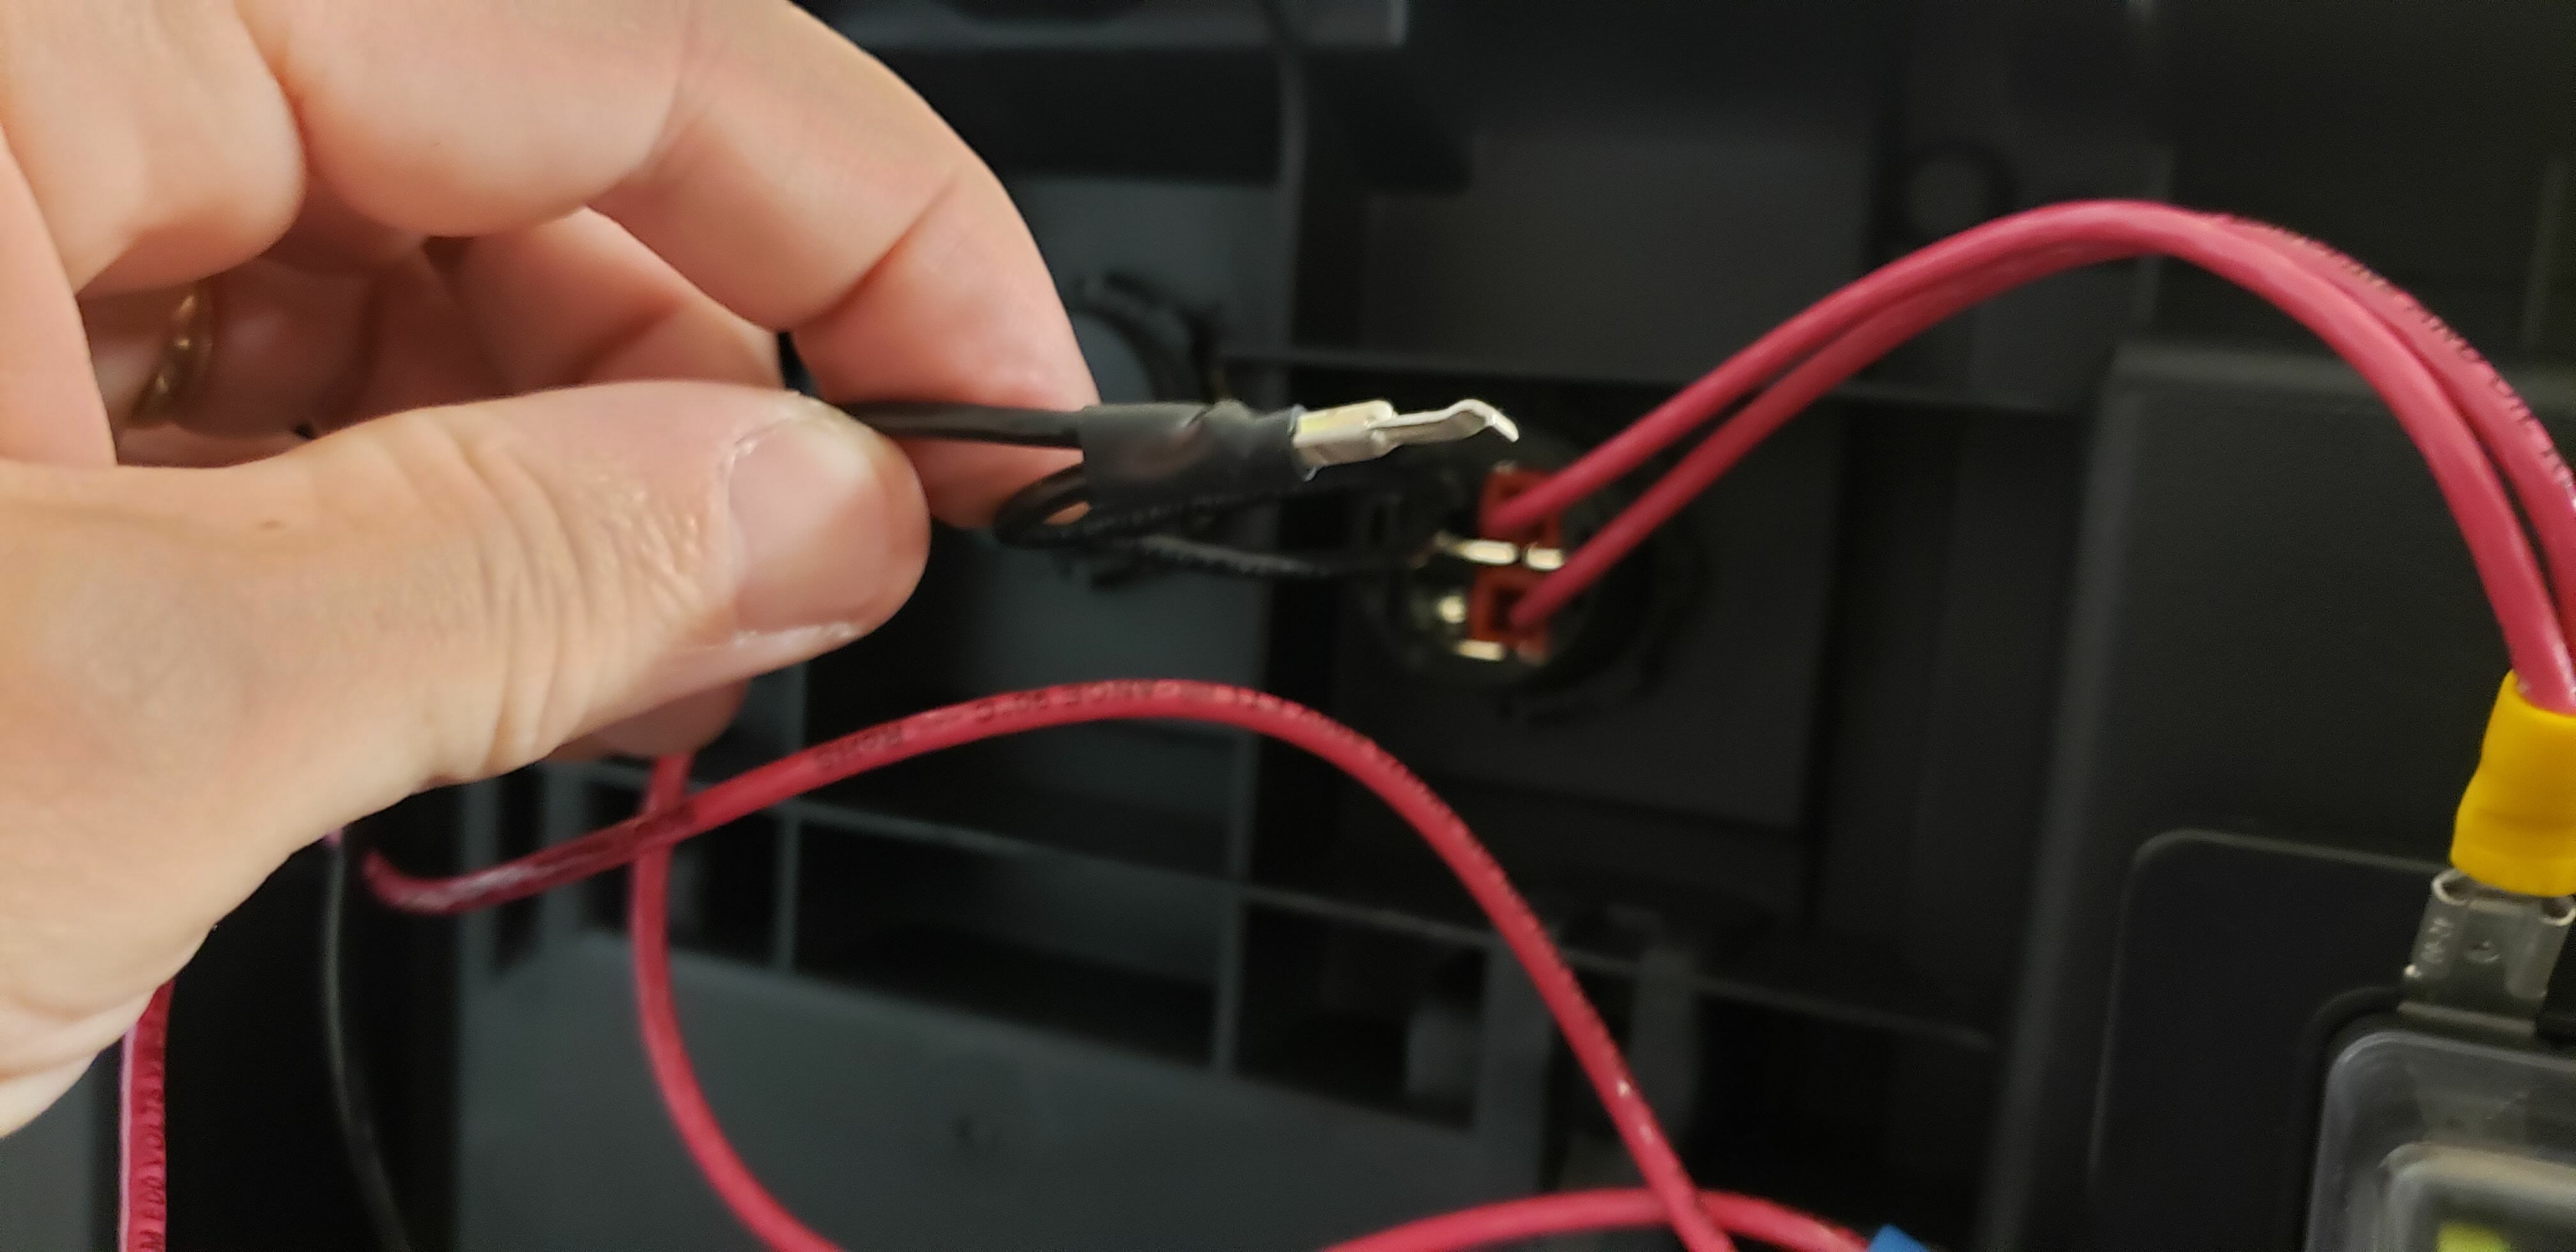
The hardest part was the wiring and it wasn’t really hard, just a little time consuming. I linked all the negatives together with spade connectors and wired all the positives to the fuse box. The power pole connection was probably the most difficult.
With the wiring complete I quickly tidied it up and tested out all the components and… it worked! I’m very happy with how it came out and can’t wait to get out and do POTA now! Something that’s not showing is the input for the solar charge panel. I’ve got a power pole connector that will attach the solar panel to the solar charge controller. I’d like to get another connector to run through the box. As it is now I have to open the lid to charge the battery. I’m also thinking about adding a strip of LEDs around the edge of the lid for some additional light at night.
Let me know what you think. Any suggestions as to how to make this better are also welcomed!
Jamey, AC1DC
No comments:
Post a Comment